
by LiftUp Garage Door Services | Jul 10, 2026 | garage services

The main overhead entry system is often the single largest moving mechanical component on your entire residential property. At Lift Up Garage Door Services, we see firsthand how daily wear and tear can gradually throw these massive systems out of absolute alignment.
Leaving minor imbalances unaddressed forces the electric motor to overwork, leading to sudden operational failures. Taking a proactive approach to structural tuning keeps your home access smooth, reliable, and completely secure.
The Strategic Importance of Overhead Alignment
To level up garage door performance means systematically calibrating the physical balance, tracking alignment, and safety mechanisms of an overhead entry system while integrating modern, energy-efficient components. Executing these precise mechanical adjustments eliminates unnecessary friction, reduces operational noise, and extends the overall service lifespan of the entire lift system.
Balancing the Core Lifting Architecture
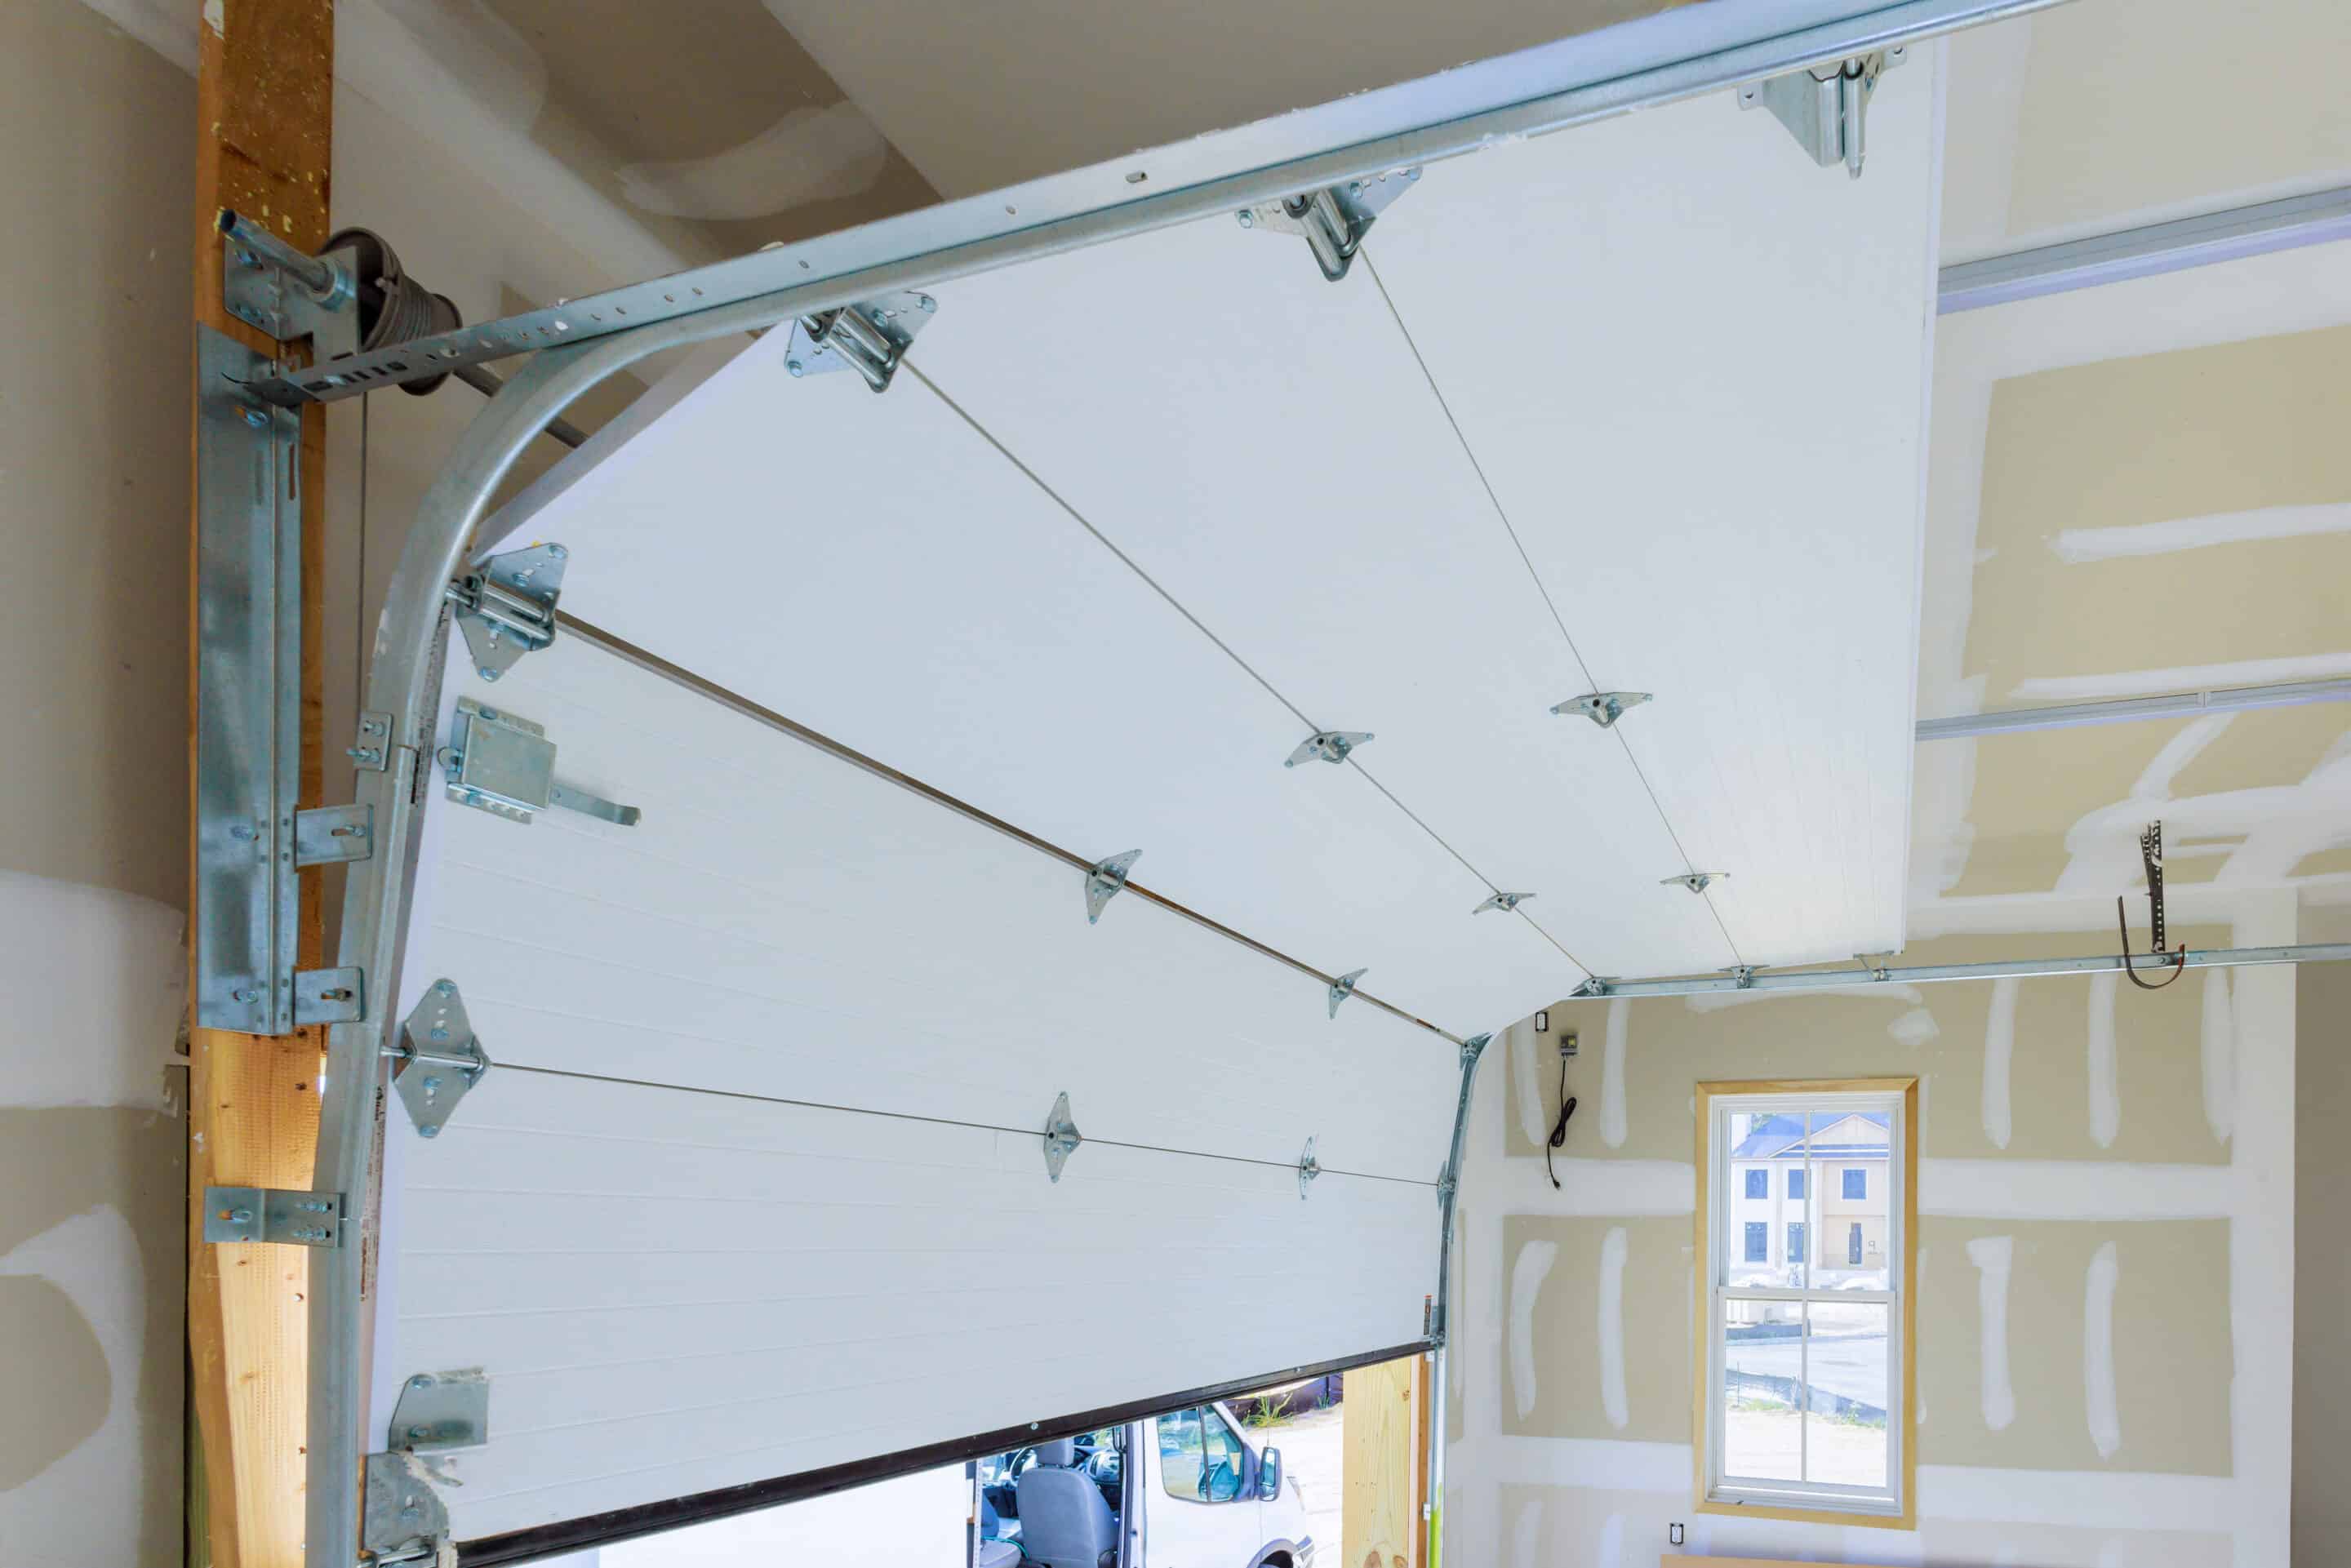
An overhead system relies on a delicate counterbalancing act to lift hundreds of pounds safely with minimal physical effort. When the internal tension drops, the entire assembly shifts unevenly, placing destructive stress on the hardware connections.
The heavy-duty torsion springs mounted above the opening do the heavy lifting. If your door sags or slips down rapidly when lifted halfway manually, the tension is completely out of balance. This mechanical issue requires immediate attention before the excessive strain permanently warps your steel tracks or snaps your lifting cables.
Infrastructure Comparison: Selecting Upgrades
Evaluating a proactive garage door replacement or planning a comprehensive hardware overhaul requires matching the right mechanical components to your home’s unique climate and usage needs.
| Engineering Focus |
Standard Base Component |
Premium High Performance Upgrade |
Long-Term Operational Benefit |
| Counterbalance Power |
Standard factory extension springs |
Heavy-duty oil-tempered torsion springs |
Provides smoother movement and lasts twice as many cycles |
| Thermal Protection |
Single layer non-insulated steel skins |
Multi-layer polyurethane insulated panels |
Keeps the space climate controlled and dampens exterior noises |
| Tracking Velocity |
Standard hard plastic wheels |
Sealed ball bearing heavy-duty nylon rollers |
Reduces operational vibrations and eliminates metal squeaks |
| System Intelligence |
Traditional fixed radio frequency remotes |
Wi-Fi connected smart openers with cameras |
Allows for secure remote tracking from your mobile device |
Essential Calibration for Maximum Efficiency
Achieving a quiet, safe entry point requires focusing on the core physics of your tracking setup. Skipping these fundamental maintenance checks can result in costly emergency repairs later on.
Perfect Track Alignment and Roller Care
Vertical and horizontal tracks must remain perfectly parallel to prevent the rollers from binding or popping out of their tracks. Periodically clean away packed grease, dirt, and road debris from the channel interiors, and apply a light coat of high-quality silicone lubricant to the wheel bearings.
Weather Stripping and Thermal Sealing
The perimeter seal acts as your first line of defense against heavy rain, wind, and pests. Installing thick, flexible bottom rubber weatherstripping fills uneven gaps along the concrete floor, reducing energy loss and preventing water from pooling inside your workspace.
Core Execution Steps to Refine Your System
- Conduct a Manual Balance Test: Disconnect the electric opener pull-cord and lift the panel halfway up; it must stand perfectly still without sliding down.
- Inspect Cable Integrity: Scan the lower bracket attachments closely for any frayed steel strands or rusted cable loops.
- Tighten Structural Fasteners: Use a socket wrench to secure loose nuts on all track brackets and hinge plates vibration loosened over time.
- Test the Auto-Reverse Safety Sensors: Place a solid block on the floor and close the system; the panel must reverse immediately upon touching the object.
Frequently Asked Questions
What causes an overhead panel to reverse automatically before touching the floor?
This issue is usually caused by misaligned safety eyes or shifting tracks. If the invisible infrared beam gets interrupted by physical vibrations during the closing cycle, the system triggers a safety reversal to prevent accidental damage.
How often do heavy-duty torsion springs need to be replaced?
Standard springs are rated for roughly 10,000 open and close cycles, which typically equates to 7 to 10 years of normal daily use. High-use households should consider upgrading to extended-life hardware designed to clear over twenty-five thousand cycles cleanly.
Is it safe to adjust the main lift cables without professional training?
No, the bottom brackets and lifting cables are under extreme mechanical tension, directly linked to the spring system. Attempting to loosen these fasteners without specialized safety tools can cause severe injury or major property damage.
Can a single damaged panel be swapped out without replacing the whole assembly?
Yes, if the surrounding tracks, hinges, and remaining sections are structurally sound, you can source a single matching panel section. This targeted garage door repair saves you money while restoring your home’s exterior to a clean look.
Why does a metal door make loud popping noises during operation?
Loud popping or grinding sounds usually mean you have worn-out rollers or dry hinge points. Swapping old steel rollers for sealed nylon wheels and lubricating the pivot pins instantly eliminates friction and dampens operation noise.
Secure and Protect Your Home Infrastructure
Investing in precision maintenance turns a noisy, unpredictable entry system into a quiet, reliable asset. Prioritizing correct tracking balance and durable thermal insulation protects your family, saves energy, and ensures smooth operation every single day.
If you are ready to fix a broken spring, schedule a critical garage door repair, or invest in a modern garage door replacement to boost your home value, our skilled technicians are ready to help. Contact Lift Up Garage Door Services today to have your setup analyzed and receive a comprehensive project estimate.
by LiftUp Garage Door Services | Jul 1, 2026 | garage services
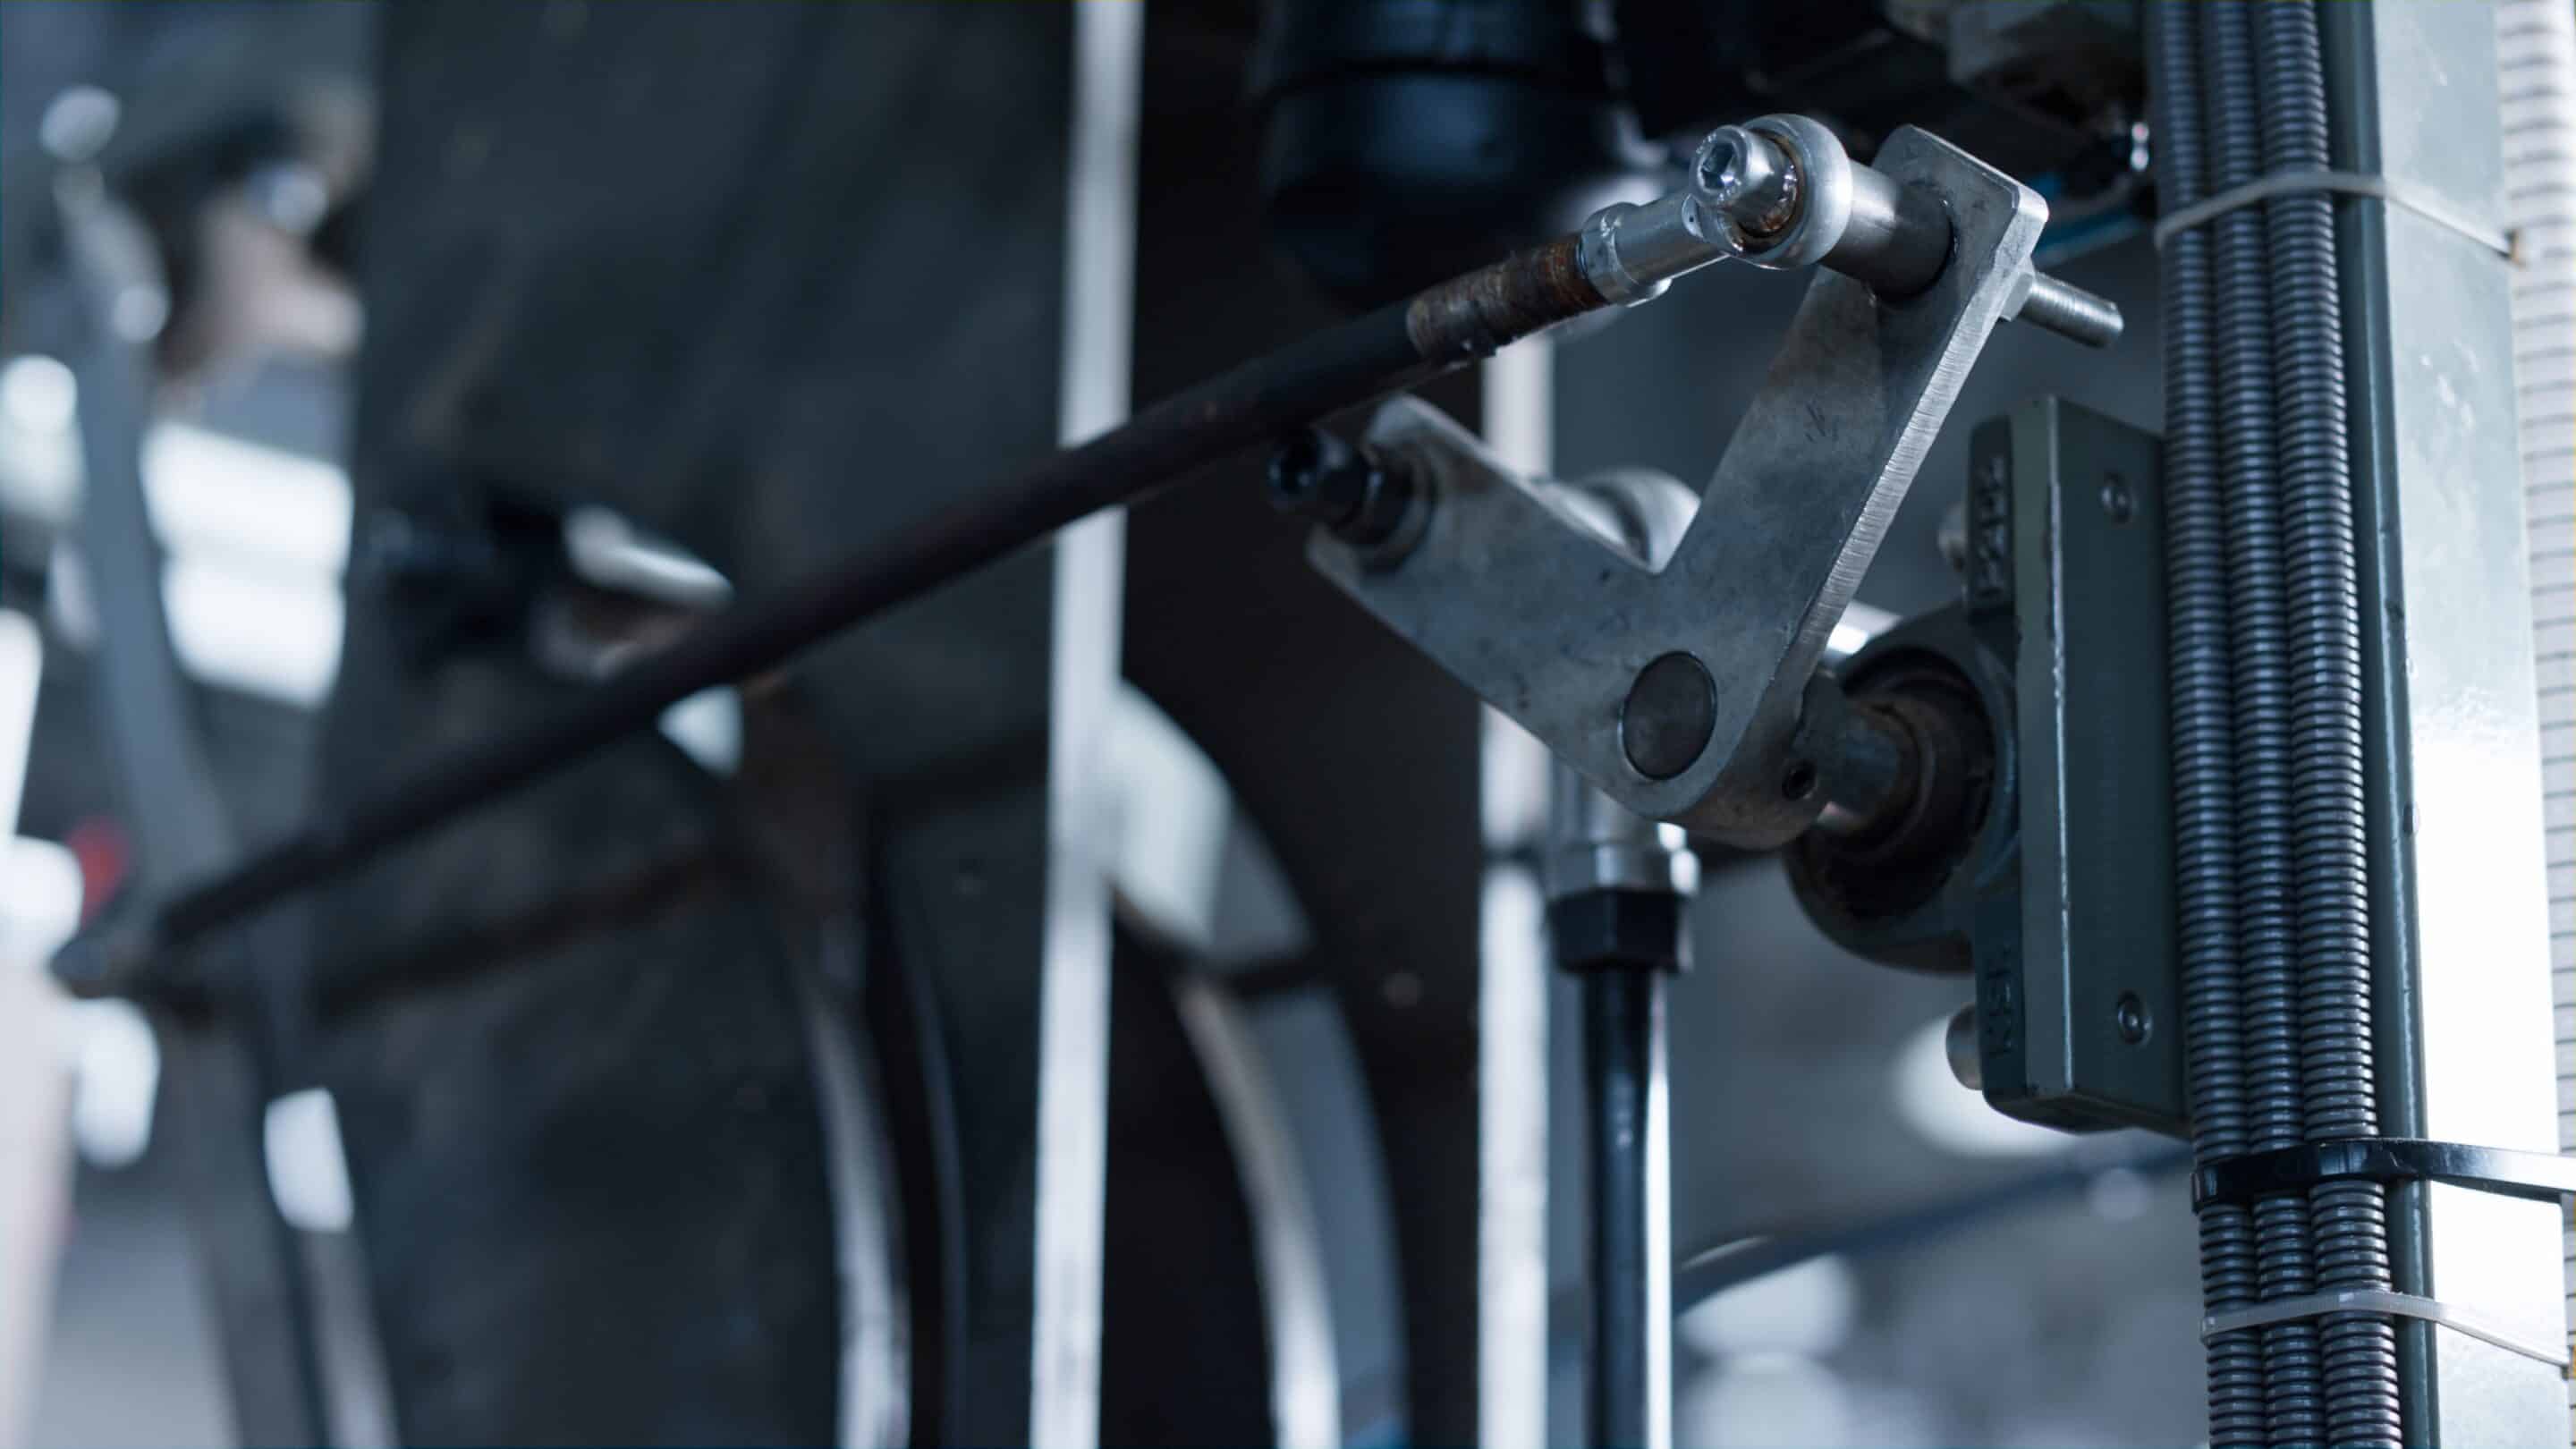
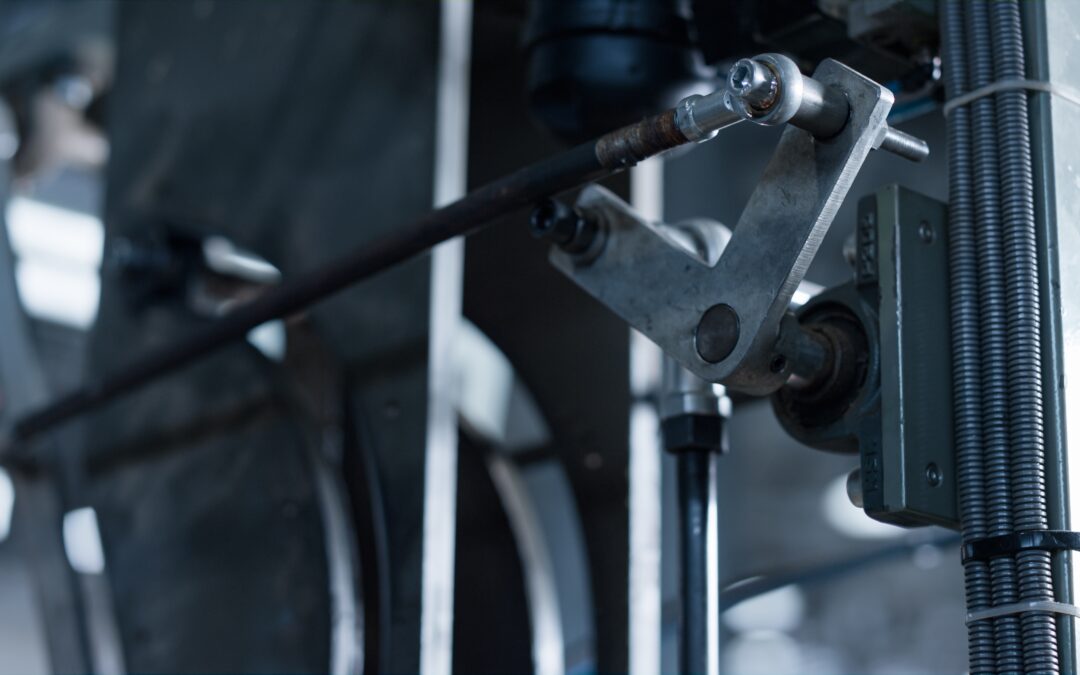
When diagnosing a malfunctioning garage entry system, property owners often ask exactly what cable is garage door opener hardware uses to function. The confusion usually stems from the fact that an automated garage door relies on two completely distinct types of cables. There are thin, insulated electrical control wires that carry signals to your accessories, alongside heavy-duty mechanical steel lifting cables that support the door panels’ actual weight.
What cable is garage door opener systems using?
A standard garage door opener uses two types of cables. For electrical signaling to safety sensors and wall buttons, it utilizes 22 AWG low-voltage copper bell wire. For physical lifting, the door mechanism relies on heavy-duty steel aircraft wire, typically 1/8 inch in diameter, connected to torsion or extension springs.
Understanding how these two systems interact is the key to safely troubleshooting your door and keeping the entire assembly running smoothly for years to come.
Low-Voltage Electrical Wiring Specifications
The electronic brains of your automated setup require a specific type of low-voltage copper wire to communicate with the wall buttons and protective safety elements. This material is commonly known in the hardware industry as bell wire or thermostat wire. It is designed specifically to carry low-voltage current safely without the need for thick, heavy conduit throughout your garage interior.
Most major manufacturers require 22 American Wire Gauge (AWG) two-conductor wire. Using a solid copper wire configuration rather than a stranded option is highly recommended here because solid cores slide easily into the quick-connect terminal blocks on the back of the motor housing.
| Wire Purpose |
Standard Gauge |
Conductor Type |
Common Color Coding |
| Wall Control Panel |
22 AWG |
Solid Copper |
White and Red/White stripes |
| Garage Door Safety Sensors |
22 AWG |
Solid Copper |
White and Black/White stripes |
| Residential Power Supply |
14 AWG |
Three-Prong Grounded |
Standard Black, White, and Green |
Mechanical Lifting Cables and Spring Systems
While the low-voltage electronics control the operational commands, the heavy physical labor of moving the door is handled by a mechanical Garage door Cable. These are thick lines that structural installers refer to as aircraft cable, made of galvanized steel strands twisted tightly together for maximum tensile strength.
These mechanical steel lines run from the bottom brackets of the bottom door panel directly up to the drums spinning alongside your counterbalance springs. The automated motor unit merely guides and balances the movement, while the immense energy stored inside the springs lifts the weight through these specific steel lines.
- Torsion Spring Assemblies: The lifting cables wind and unwind evenly around aluminum drums mounted on a steel shaft directly above the closed door opening.
- Extension Spring Assemblies: The cables run through a series of pulleys mounted parallel to the upper horizontal tracks on both sides of the ceiling space.
- Safety Cables: Extension systems feature a secondary safety cable running straight through the center of the spring coil to catch the steel components if the spring snaps under pressure.
Common Indicators of Component Failure
Recognizing when either your electrical signaling lines or your mechanical structural lines are beginning to degrade will help you avoid sudden operational failures. Low-voltage electrical issues usually present as intermittent command glitches, while mechanical steel fatigue shows visible physical wear along the tracks.
If your overhead door refuses to close and the motor unit overhead begins clicking or flashing its work lights, you are likely dealing with a broken connection along your garage door safety sensor’s path. Physical damage to the thin signaling insulation can stop the essential electrical circuit from reaching the main control board safely.
Conversely, if you hear popping sounds during operation, immediately inspect the steel lifting lines near the bottom brackets. Over time, moisture near the garage floor can cause individual steel strands to rust, fray, and slowly unravel, which can place dangerous, uneven stress on the tracking.
Safety Procedures for Basic Troubleshooting
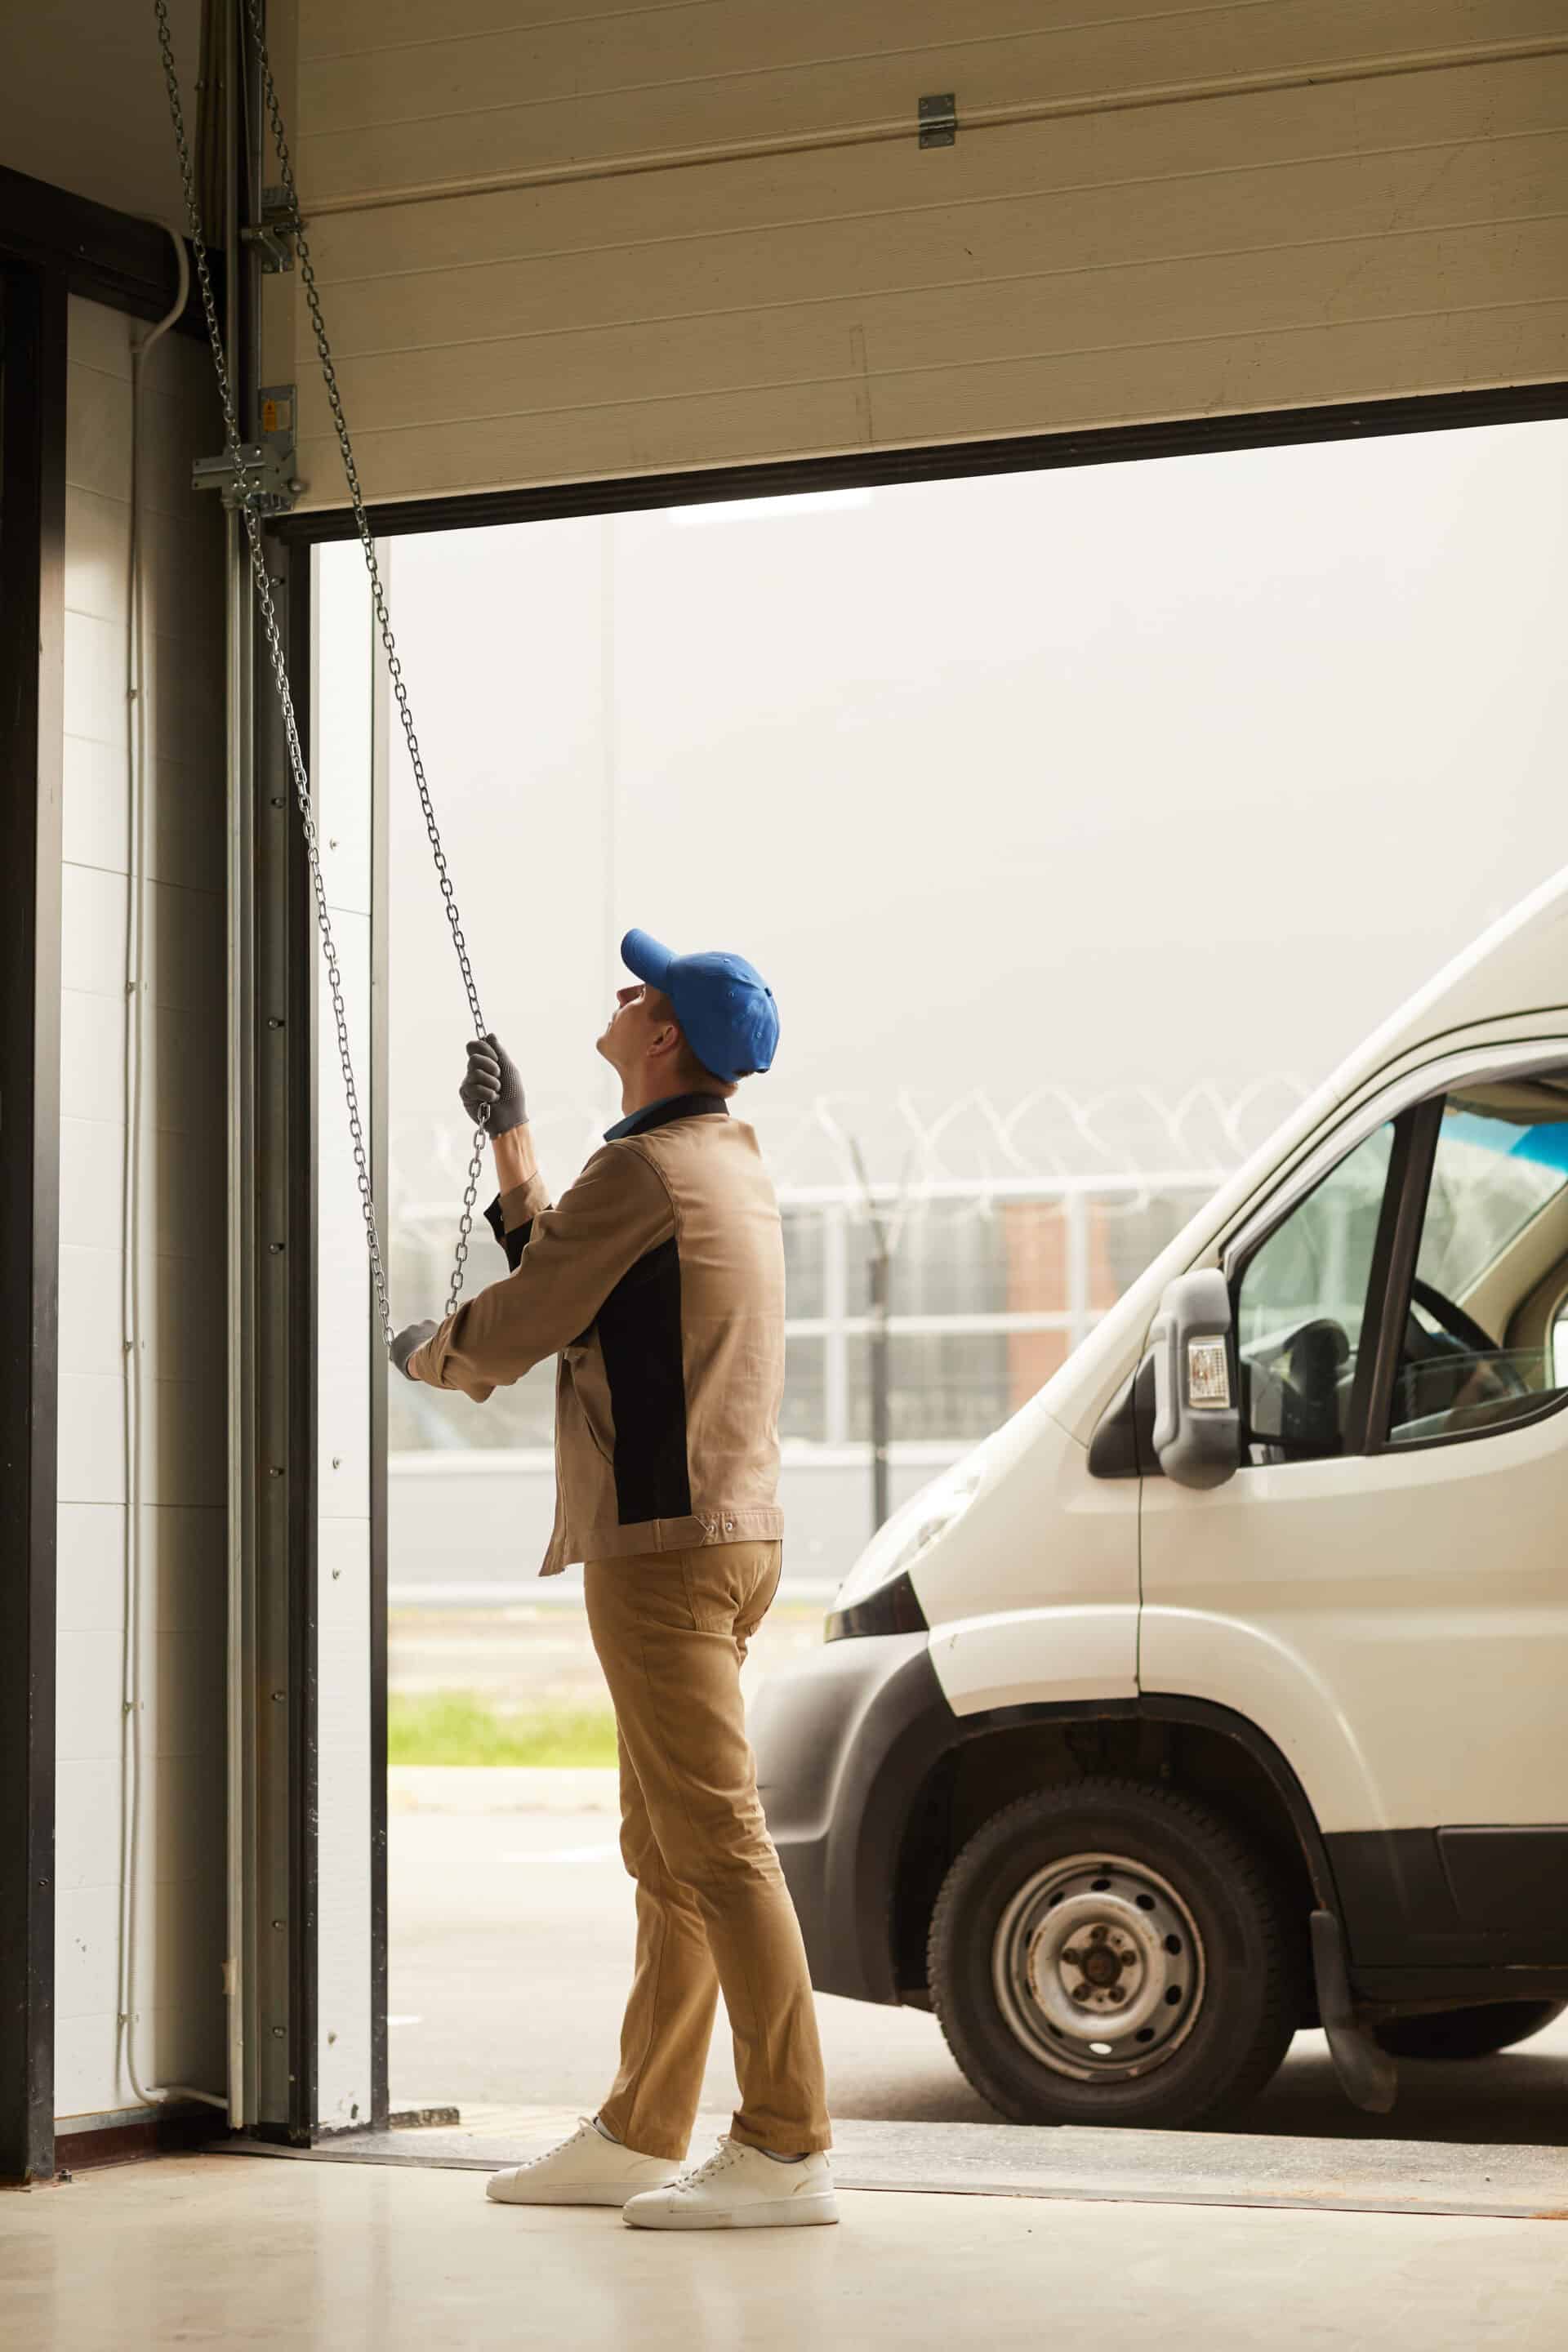
Working around automated entry systems requires cautious sequence management to ensure your physical safety. Before touching any electrical connections or inspecting mechanical alignments, always disconnect the primary power cord from the ceiling outlet.
If you are replacing a worn piece of low-voltage signaling line, strip away exactly one-half inch of outer insulation to expose the clean copper core before inserting it into the motor terminals. Ensure the wires do not cross or short against each other, as this can fry sensitive internal logic boards.
Never attempt to loosen or adjust the bolts on the bottom brackets or the spring winding cones yourself. These specific anchoring points remain under hundreds of pounds of destructive kinetic force that can cause severe injury if released suddenly without professional winding bars.
FAQ Section
Can I use standard speaker wire to connect my wall buttons?
Yes, standard 18-gauge or 20-gauge speaker wire can function in an emergency because it carries low-voltage signals. However, using the manufacturer-specified 22 AWG solid copper wire is highly recommended, as thicker or stranded options do not seat properly in the small terminal blocks.
Why does my motor unit light flash when I try to close the door?
This flashing behavior indicates that the safety reversal system circuit is broken. This issue is typically caused by blocked lenses, misaligned sensor bodies, or a broken connection in the low-voltage signaling line running from the sensors back to the overhead motor.
How often should I replace the steel lifting lines on my door?
Mechanical steel lifting lines generally last between eight and twelve years depending on local humidity levels and daily usage cycles. If you notice any visible fraying, corrosion, or kinks during your monthly visual inspection, replace them immediately.
What is the difference between solid and stranded low-voltage wire?
Solid wire consists of a single piece of copper, which is stiffer and holds its shape perfectly inside push-button terminals. Stranded wire is made from multiple tiny interwoven metal threads, making it highly flexible but much harder to insert into small connection blocks without fraying.
Is the main power cord different from the control wiring?
Yes, the main power cord is a heavy-duty high-voltage line that plugs into a standard 110-volt grounded household outlet to run the internal motor. The control lines are separate, exposed, low-voltage paths that safely carry minimal electrical current.
Let’s Build Together
Keeping your automated system operating reliably requires perfectly calibrated hardware and pristine electrical pathways. If you are dealing with frayed structural lines or confusing electrical issues, let our expert technicians safely bring your garage back to peak performance. Contact Liftup Garage Door Services today to schedule an inspection and ensure your home stays protected.
by LiftUp Garage Door Services | Jun 17, 2026 | garage services
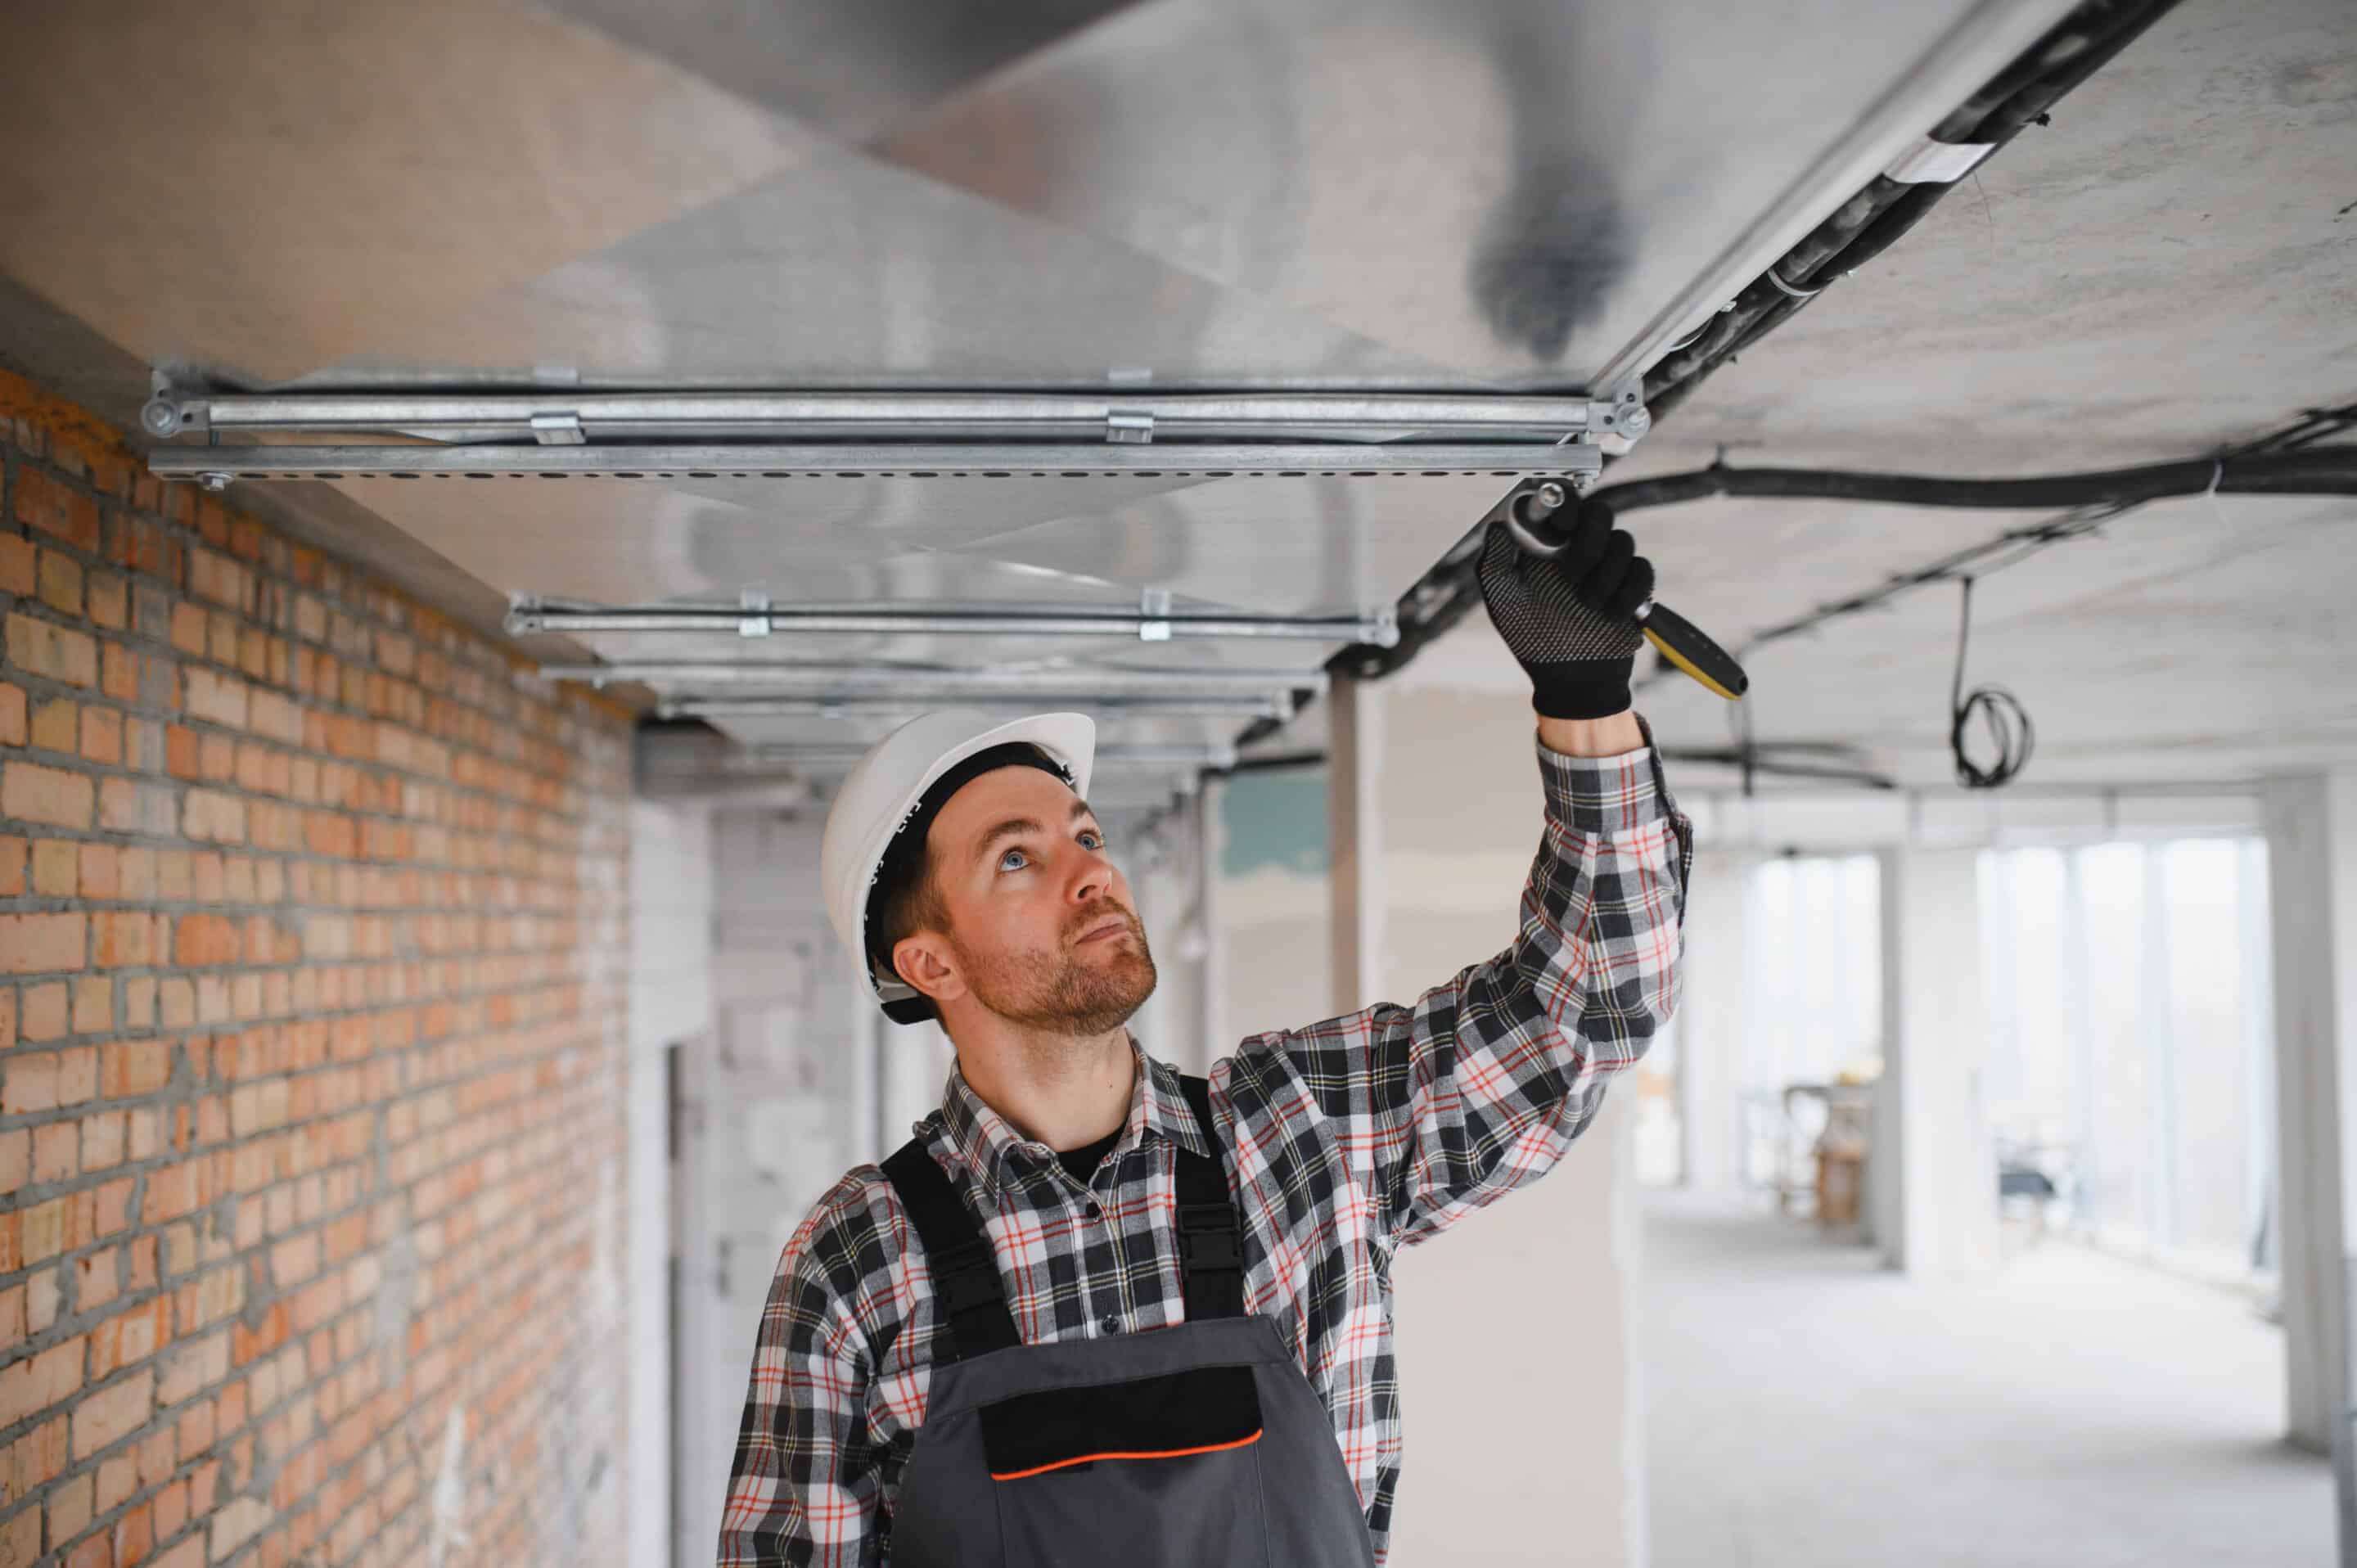
Installing a new garage door can improve security, enhance curb appeal, and increase the overall value of your property. While some homeowners choose professional installation, understanding how to install a garage door helps you evaluate the process, prepare properly, and make informed decisions.
This guide explains the key steps involved in garage door installation, important safety considerations, and common mistakes to avoid.
What Is Involved in Garage Door Installation?
Garage door installation involves assembling door sections, mounting tracks, installing springs and hardware, connecting the lifting mechanism, and testing the system for safe operation. Because garage doors are heavy and spring systems store significant tension, proper installation is critical for safety and performance.
Modern garage doors consist of several interconnected components, including:
- Door panels or sections
- Vertical and horizontal tracks
- Hinges and rollers
- Torsion or extension springs
- Lift cables
- Mounting brackets
- Garage door opener (if applicable)
Each component must be installed and aligned correctly to ensure smooth operation.
Tools and Materials Needed
Before starting the installation, gather the necessary tools and materials.
Essential Tools
- Power drill
- Adjustable wrench
- Socket set
- Tape measure
- Level
- Locking pliers
- Ladder
- Safety glasses
- Work gloves
Common Materials
- Garage door kit
- Track system
- Mounting hardware
- Springs
- Rollers
- Weather seals
Always review the manufacturer’s instructions before beginning.
How to Install a Garage Door Step by Step
The installation process typically includes preparing the opening, assembling the door sections, mounting the tracks, installing the springs, connecting the cables, and testing the completed system.
Step 1: Measure the Garage Opening
Accurate measurements are essential.
Measure:
- Opening width
- Opening height
- Headroom above the opening
- Side room clearance
- Backroom depth
Incorrect measurements can lead to fitting issues and operational problems.
Step 2: Prepare the Opening
Inspect the garage framing to ensure it is structurally sound.
Check for:
- Damaged wood
- Uneven surfaces
- Loose fasteners
- Water damage
Repair any issues before proceeding with the installation.
Step 3: Assemble the Door Sections
Most sectional garage doors arrive in multiple panels.
Begin by:
- Placing the bottom section into the opening.
- Installing hinges and brackets.
- Adding rollers to the designated locations.
- Stacking additional sections according to manufacturer specifications.
Use a level to ensure each section is properly aligned.
Step 4: Install Vertical and Horizontal Tracks
Attach the vertical tracks to the door frame.
Then:
- Connect horizontal tracks.
- Secure ceiling supports.
- Verify track alignment.
- Check for level positioning.
Misaligned tracks can cause premature wear and operational failures.
Step 5: Install Springs and Cables
Springs provide the counterbalance that allows a garage door to open and close smoothly. Improper spring installation can create serious safety hazards.
Depending on the system, you may install:
- Torsion springs
- Extension springs
Attach lift cables according to the manufacturer’s instructions.
Because spring tension can be dangerous, many homeowners prefer professional assistance during this stage.
Step 6: Install the Garage Door Opener
If using an automatic opener:
- Mount the opener unit.
- Install the rail assembly.
- Connect the drive mechanism.
- Attach the opener arm to the door.
- Connect safety sensors.
Follow all electrical and safety requirements.
Step 7: Test Door Operation
Open and close the door several times.
Inspect for:
- Smooth movement
- Proper balance
- Track alignment
- Cable positioning
- Safety sensor functionality
Make necessary adjustments before regular use.
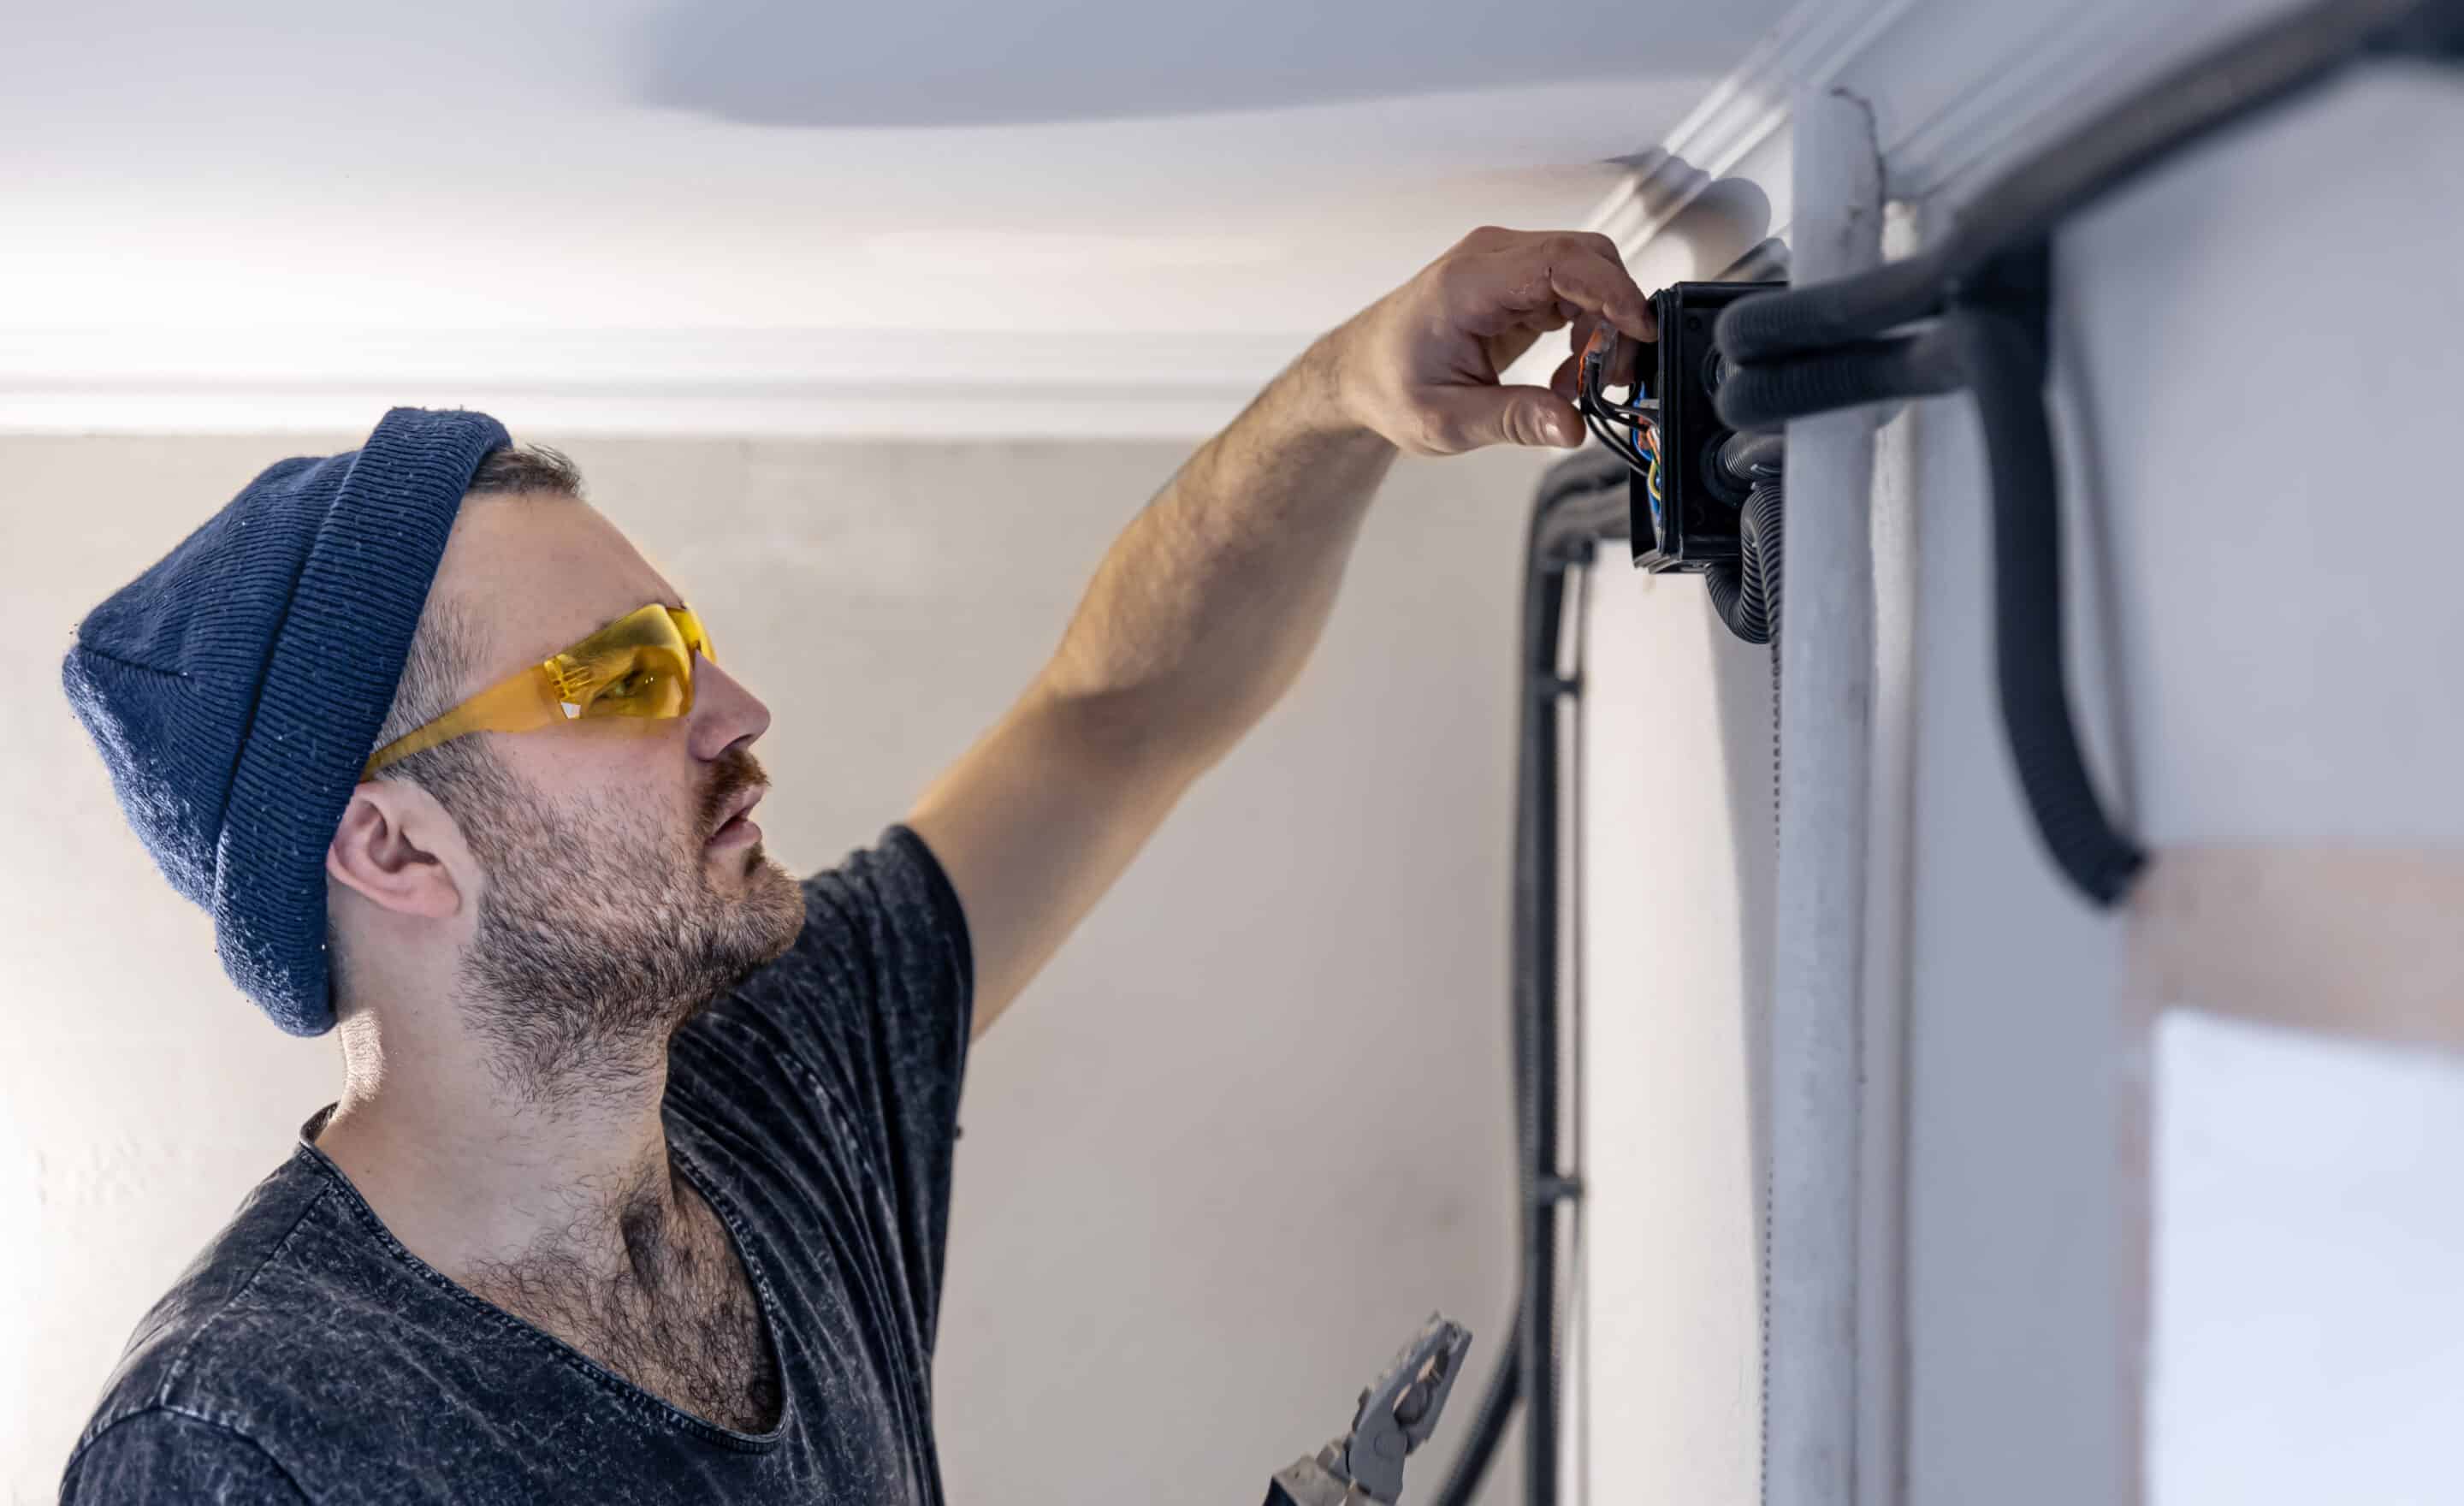
Common Garage Door Installation Mistakes
Most garage door problems result from improper measurements, misaligned tracks, incorrect spring tension, or loose hardware connections.
Avoid these common mistakes:
| Mistake |
Potential Result |
| Incorrect measurements |
Poor fit and operation |
| Uneven tracks |
Door binding and noise |
| Improper spring adjustment |
Safety hazards |
| Loose hardware |
Reduced durability |
| Skipping safety testing |
Increased accident risk |
Careful attention during each stage helps prevent costly repairs later.
Should You Install a Garage Door Yourself?
DIY installation may be possible for experienced homeowners, but professional installation often provides greater safety, efficiency, and long-term reliability.
DIY installation may be suitable if:
- You have advanced mechanical skills.
- You understand power tools and safety procedures.
- The manufacturer supports DIY assembly.
Professional installation is recommended when:
- Installing torsion spring systems.
- Replacing heavy commercial doors.
- Adding automated opener systems.
- Structural modifications are required.
Professional technicians can also ensure compliance with local building requirements.
Benefits of Professional Garage Door Installation
Professional installers bring specialized knowledge and equipment to the project.
Key advantages include:
- Enhanced safety
- Proper spring calibration
- Accurate track alignment
- Faster completion
- Warranty protection
- Reduced risk of future repairs
Investing in professional expertise often saves time and prevents costly mistakes.
Frequently Asked Questions
How long does it take to install a garage door?
Most standard garage door installations take between 4 and 8 hours, depending on door size, system complexity, and site conditions.
Can I install a garage door by myself?
Some homeowners can complete basic installations, but spring systems and heavy door components often require professional expertise for safety.
What is the hardest part of garage door installation?
Spring installation and tension adjustment are generally considered the most challenging and potentially dangerous aspects.
How much does garage door installation cost?
Costs vary based on door type, materials, size, insulation, and opener requirements. Professional installation fees may also differ by location.
Do I need special tools to install a garage door?
Yes. Common tools include drills, wrenches, levels, locking pliers, ladders, and safety equipment.
How do I know if my garage door is balanced?
Disconnect the opener and manually lift the door halfway. A properly balanced door should remain in place without drifting up or down.
Should I replace the opener when installing a new garage door?
If the opener is old, underpowered, or incompatible with the new door, replacement is often recommended.
Contact Us
Installing a garage door requires careful planning, precise measurements, and attention to safety. Whether you’re researching how to install a garage door or considering professional assistance, working with experienced technicians helps ensure reliable long-term performance.
For expert guidance, quality workmanship, and dependable service, visit Lift Up Garage Door Services. Our team can help you choose the right solution, complete a safe installation, and keep your garage doors operating smoothly for years to come.
Contact us today to discuss your garage door needs and schedule professional assistance.

by LiftUp Garage Door Services | Jun 3, 2026 | garage services
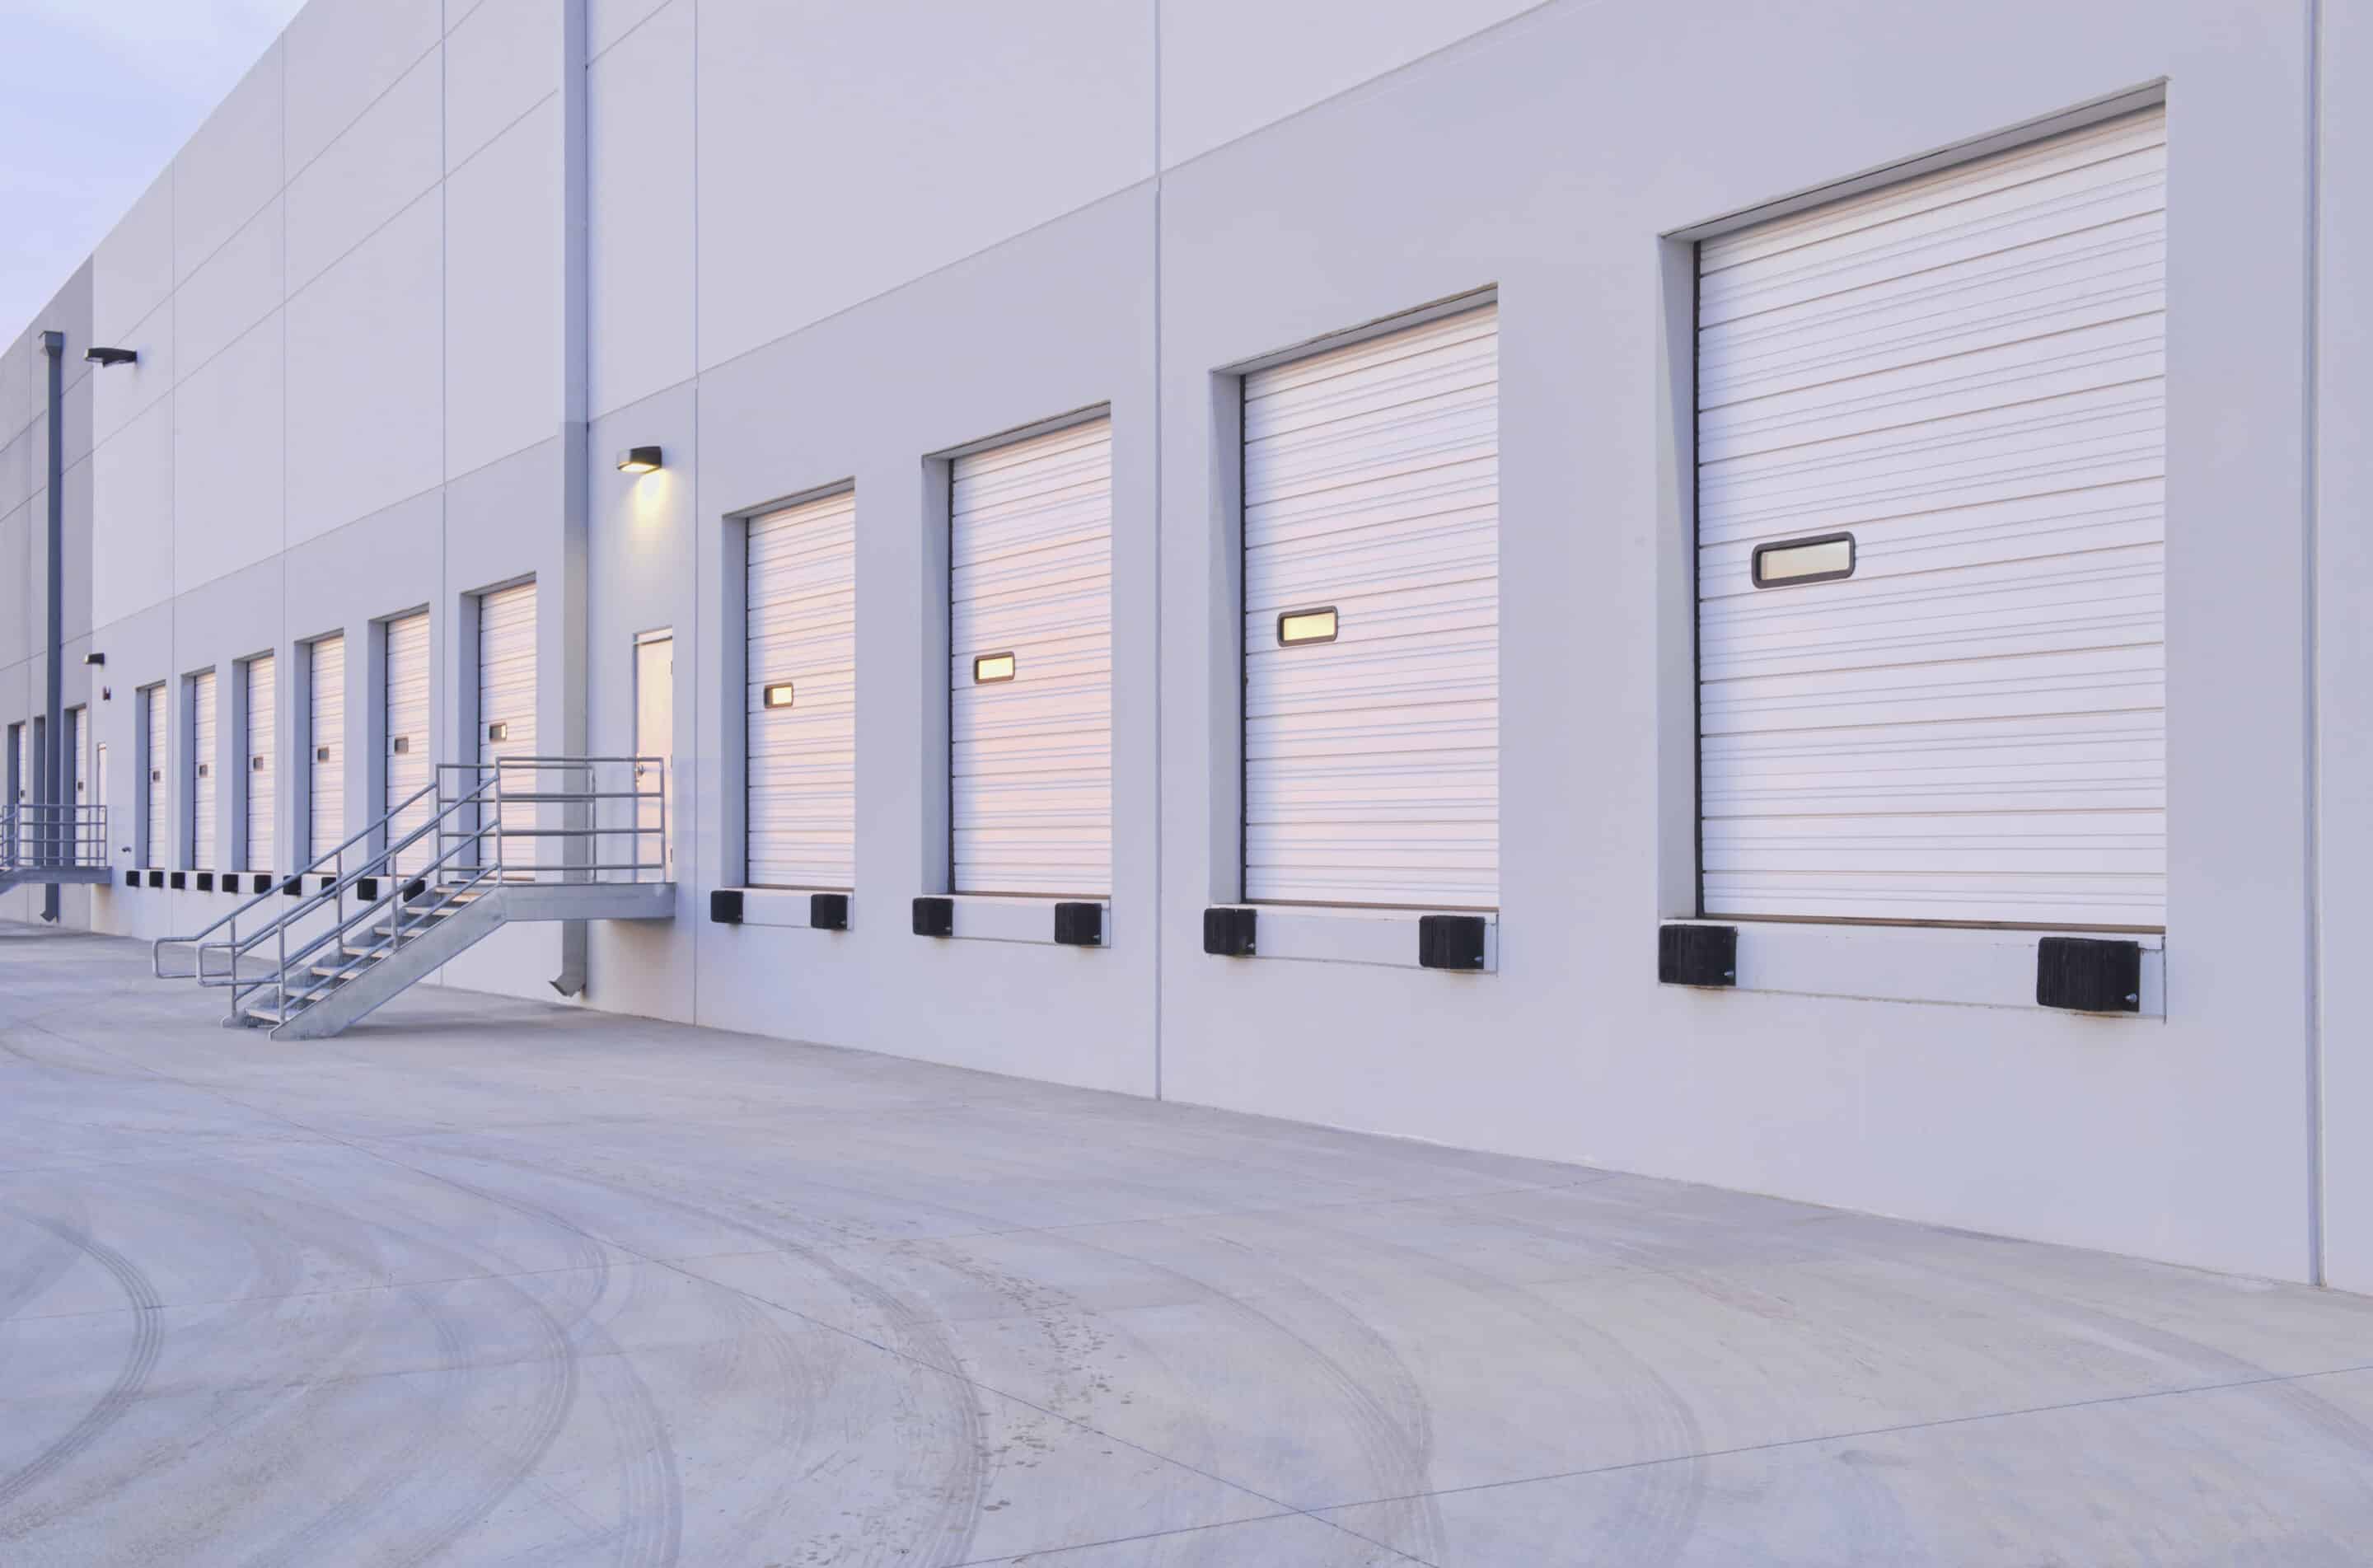
Commercial overhead doors are essential assets for warehouses, storefronts, and industrial facilities. They secure high-value inventory, regulate climate controls, and endure dozens of cycles every single day. Because these heavy-duty systems are used at high volume, understanding how to install a commercial garage door properly is vital for long-term performance, operational efficiency, and workplace safety.
Unlike a standard home garage door installation, a commercial or industrial garage door services setup involves heavy materials, precise engineering, and immense spring tension. This technical walkthrough breaks down the phases of a successful commercial overhead door installation to help you understand the precise requirements of a secure setup.
Phase 1: Pre-Installation Prep and Necessary Tools
Before handling any hardware, thorough preparation prevents costly alignment errors down the road. You must inspect the rough opening to ensure the jambs are completely plumb and the header is level. Any warping in the frame will cause the door tracks to bind, leading to premature wear on the rollers and operational failure.
Essential Equipment for the Job
- High tension winding bars
- Locking pliers and heavy-duty clamps
- Laser level and measuring tape
- Impact wrench and socket sets
- Impact resistant safety glasses and leather gloves
Safety Warning: High tension torsion springs store enough mechanical energy to cause severe injury. Never use makeshift tools like screwdrivers or rebar to adjust them. Always use dedicated, properly sized winding bars.
Phase 2: Step-by-Step Commercial Overhead Door Installation
1. Preparing and Stacking the Door Panels
The foundation of a smooth operational cycle starts at the very bottom. Lay out the bottom panel section on a clean surface. Attach the heavy-duty astragal (weather stripping) to the bottom edge. Next, install the bottom corner brackets, ensuring they are securely bolted, as they will anchor the lift cables.
Carefully position the first panel across the opening. Use a level to verify it sits perfectly flat. Secure it temporarily by wedging shims under the low side and driving temporary nails into the jambs to hold the panel flush.
2. Assembling and Aligning the Tracks
Commercial vertical tracks must handle immense vibrations. Assemble the vertical track pieces along with their wall mounting brackets. Bolt the track pieces together loosely so you can make fine adjustments later.
Position the vertical tracks on both sides of the door, leaving a uniform gap of roughly one-quarter inch between the door panel and the track lip. Slide the rollers into the hinges of the first panel and drop them into the track. Use your laser level to verify that both vertical tracks are perfectly parallel and completely plumb.
3. Setting Up the Torsion Spring Assembly
The torsion assembly does the heavy lifting for industrial garage door systems. Slide the torsion shaft through the center spring anchor bracket. Mount the torsion springs, bearings, and cable drums onto the shaft in the exact sequence outlined by the manufacturer.
Hoist the completed shaft assembly above the header and bolt the center bracket and end bearing plates securely to the structure. Route the steel lift cables up from the bottom corner brackets, wind them tightly over the drums, and lock the drums into place on the shaft.
4. Securing the Top Section and Winding the Springs
Install the remaining panel sections one by one, securing them together with commercial grade interior hinges. Once the top section is safely in place, install the top roller brackets and adjustable fixtures to seal the door tightly against the header.
With the door fully closed and locked down with locking pliers, wind the torsion springs. Insert your winding bars into the spring cone and turn them to the specific number of quarter turns recommended for your door’s weight. Once fully tensioned, tighten the set screws to lock the spring to the shaft.
The Strategic Value of Professional Industrial Garage Door Services
While a DIY approach works well for simple home improvement tasks, commercial projects carry higher stakes. Property managers and business owners frequently rely on certified industrial garage door services to handle complex installations.
Professional installers bring several critical advantages to a project:
- Precision Engineering: Ensuring absolute track alignment to prevent long-term binding.
- Warranty Compliance: Protecting your commercial equipment investment with certified labor.
- OSHA Standards: Maintaining strict workplace safety protocols during high risk spring tensioning.
If you want to ensure your business remains secure and fully operational without operational delays, scheduling a professional setup is often the most cost-effective choice. You can learn more about certified expert assistance by exploring Liftup Garage Door Services.
Frequently Asked Questions About Commercial Overhead Doors
How is a commercial garage door installation different from a home garage door installation?
Commercial installations use heavier gauge steel, heavier industrial grade tracks, and high cycle torsion springs engineered for multiple openings per day. Residential systems focus on lower cycle usage and quieter operations.
How long does it take to complete a commercial overhead door installation?
A standard professional setup typically takes between 4 and 6 hours per door. However, massive industrial warehouse doors or complex rolling steel doors may require longer installation times.
What is the standard lifespan of commercial torsion springs?
Standard commercial springs are rated for 10,000 to 25,000 cycles. For high traffic logistics hubs or active repair shops, specialized high cycle springs can be installed to last for up to 100,000 cycles.
Can I automate an existing manual warehouse door?
Yes, most modern industrial overhead doors can be retrofitted with commercial jackshaft or trolley operators to automate daily workflows and improve facility security.
Conclusion: Keep Your Business Moving Safely
Learning how to install a commercial garage door highlights the high level of detail, specialized tools, and strict safety measures required to build a reliable entry system. From balancing heavy panels to calibrating powerful high-tension springs, every step plays a direct role in protecting your facility and your employees.
Do not let an improperly aligned track disrupt your daily operations or compromise your building security. Connect with the commercial installation experts at Liftup Garage Door Services today to schedule a precision installation or upgrade your commercial property.
by LiftUp Garage Door Services | May 16, 2026 | garage services
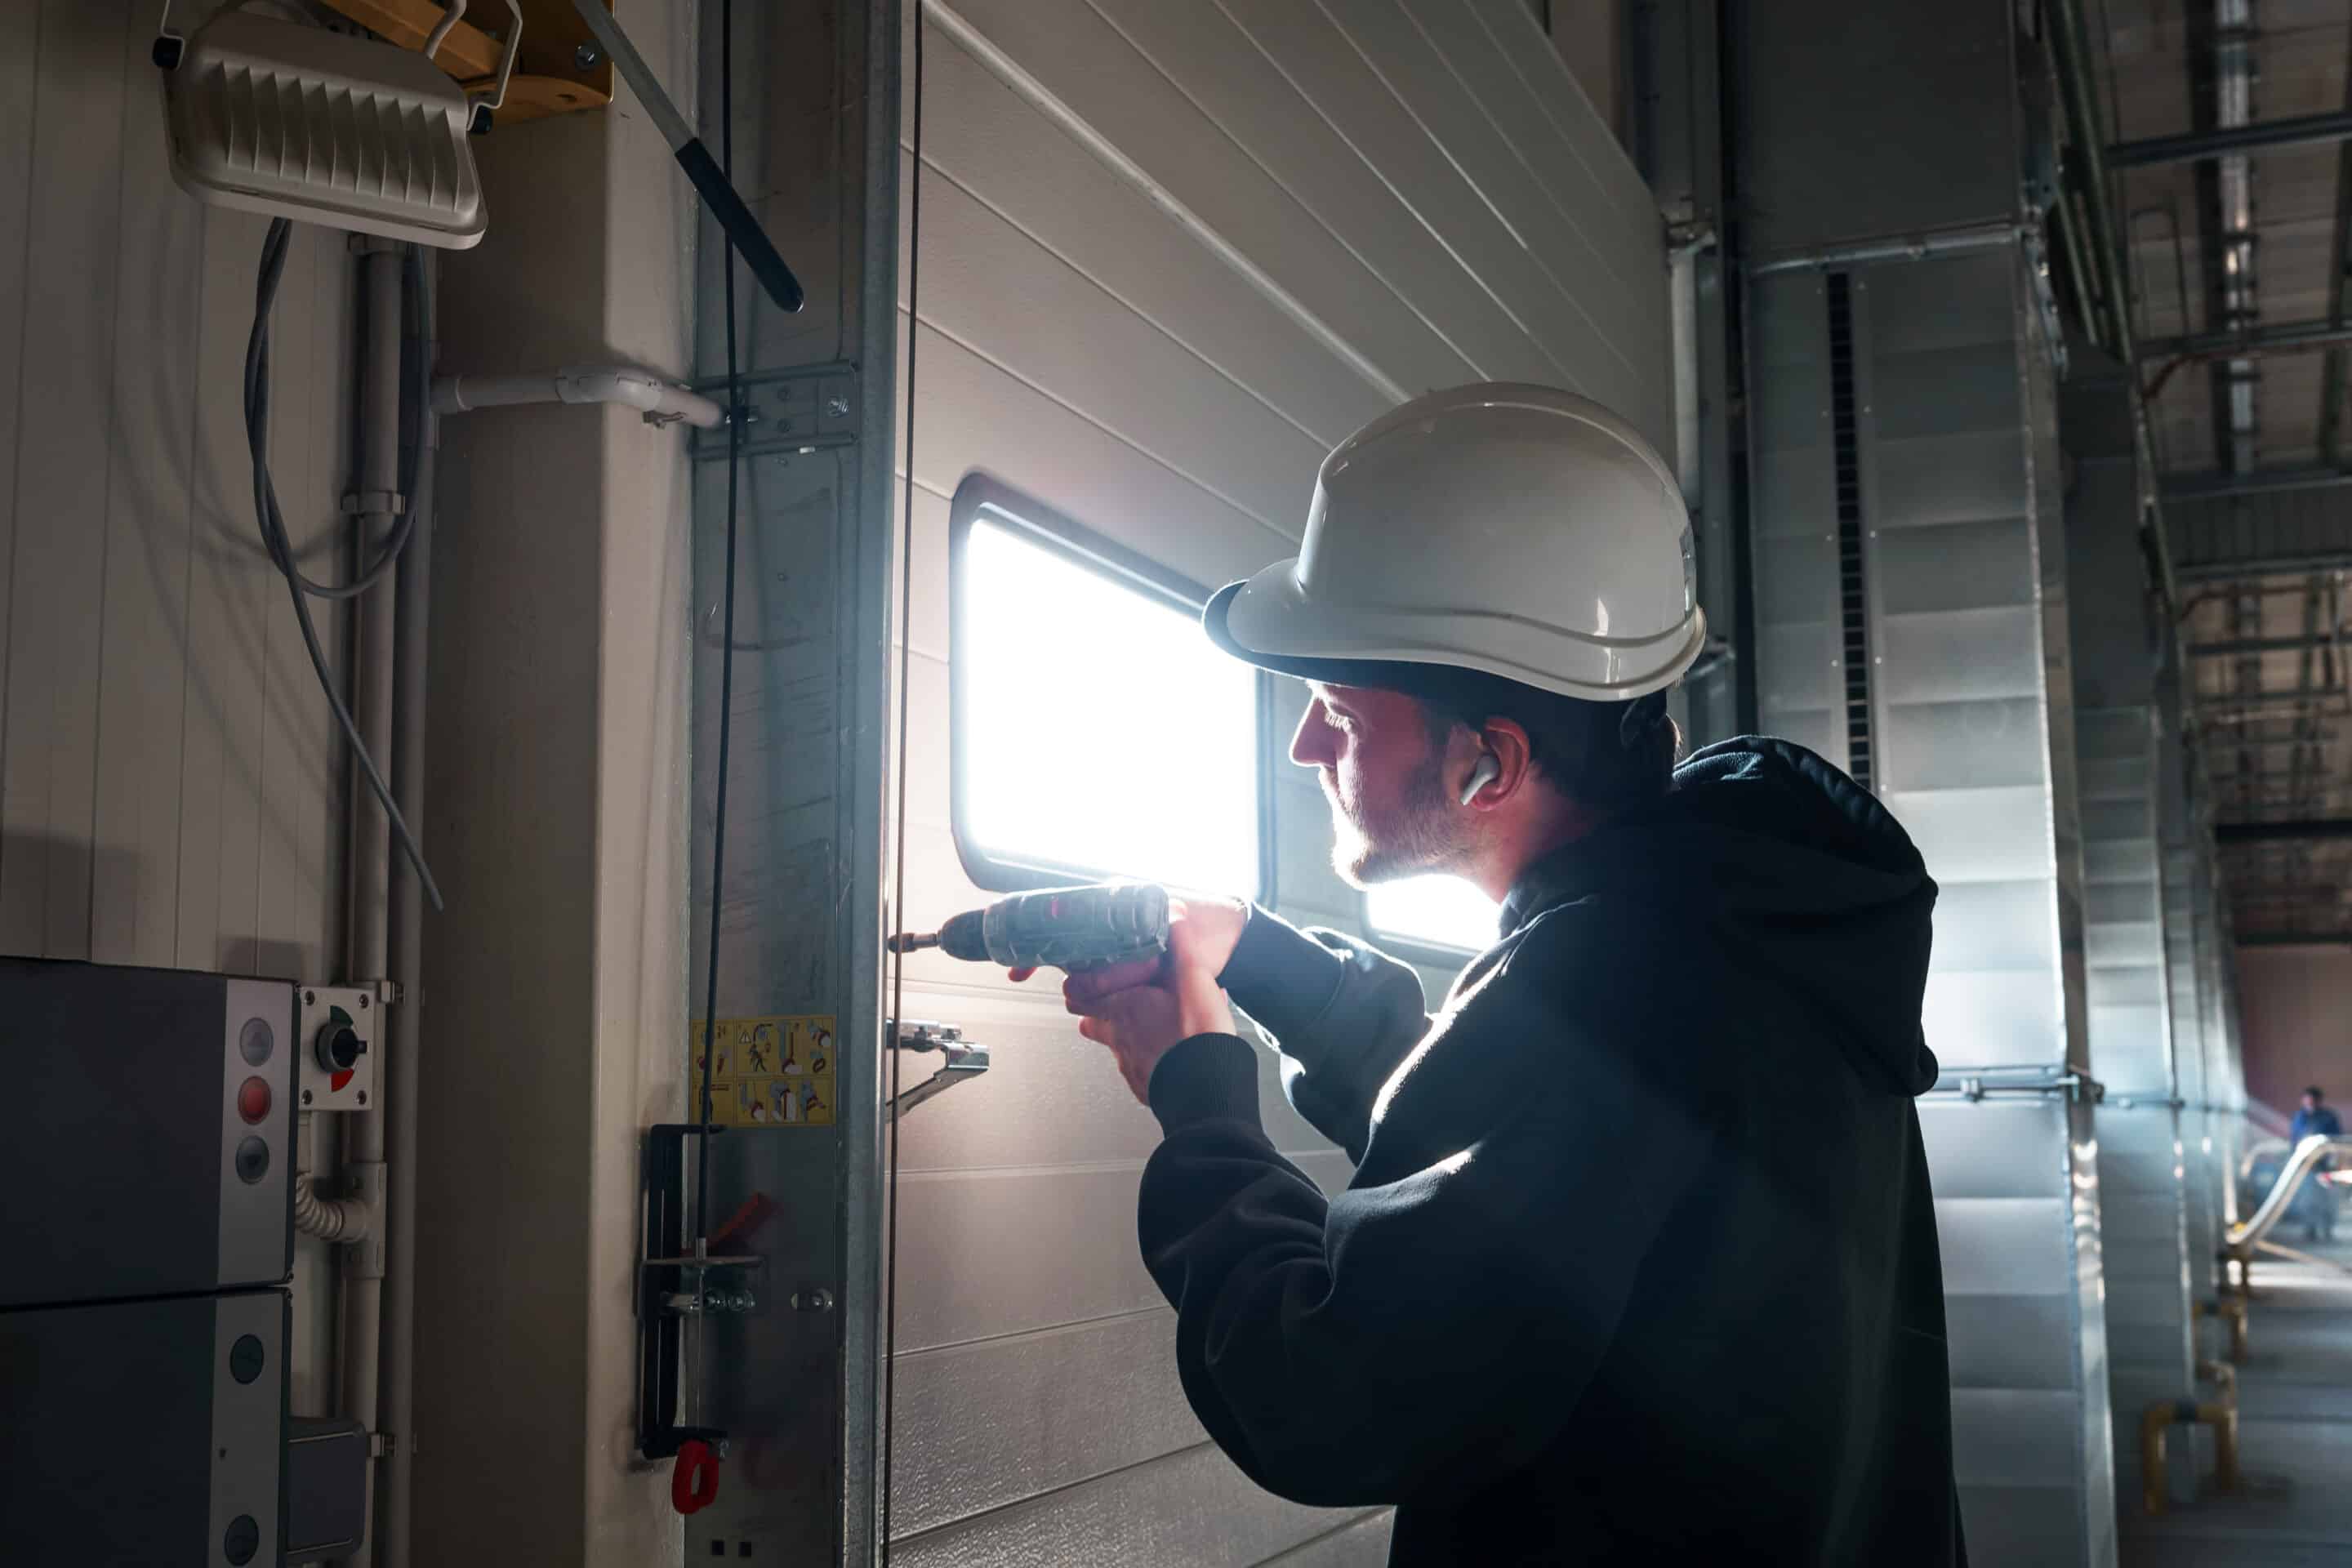
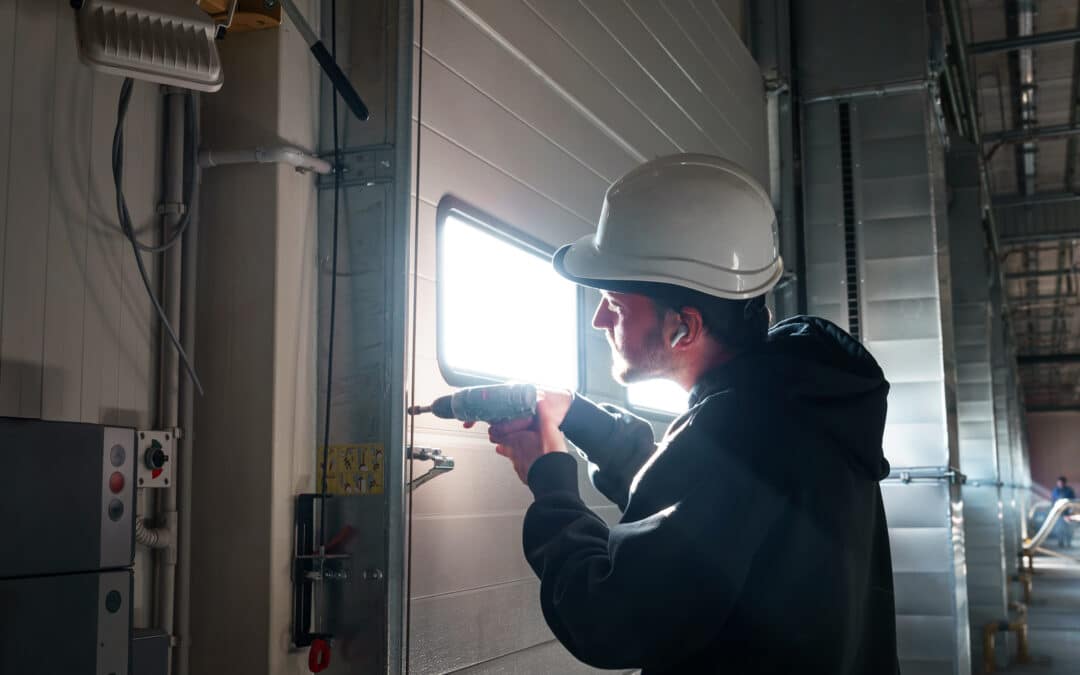
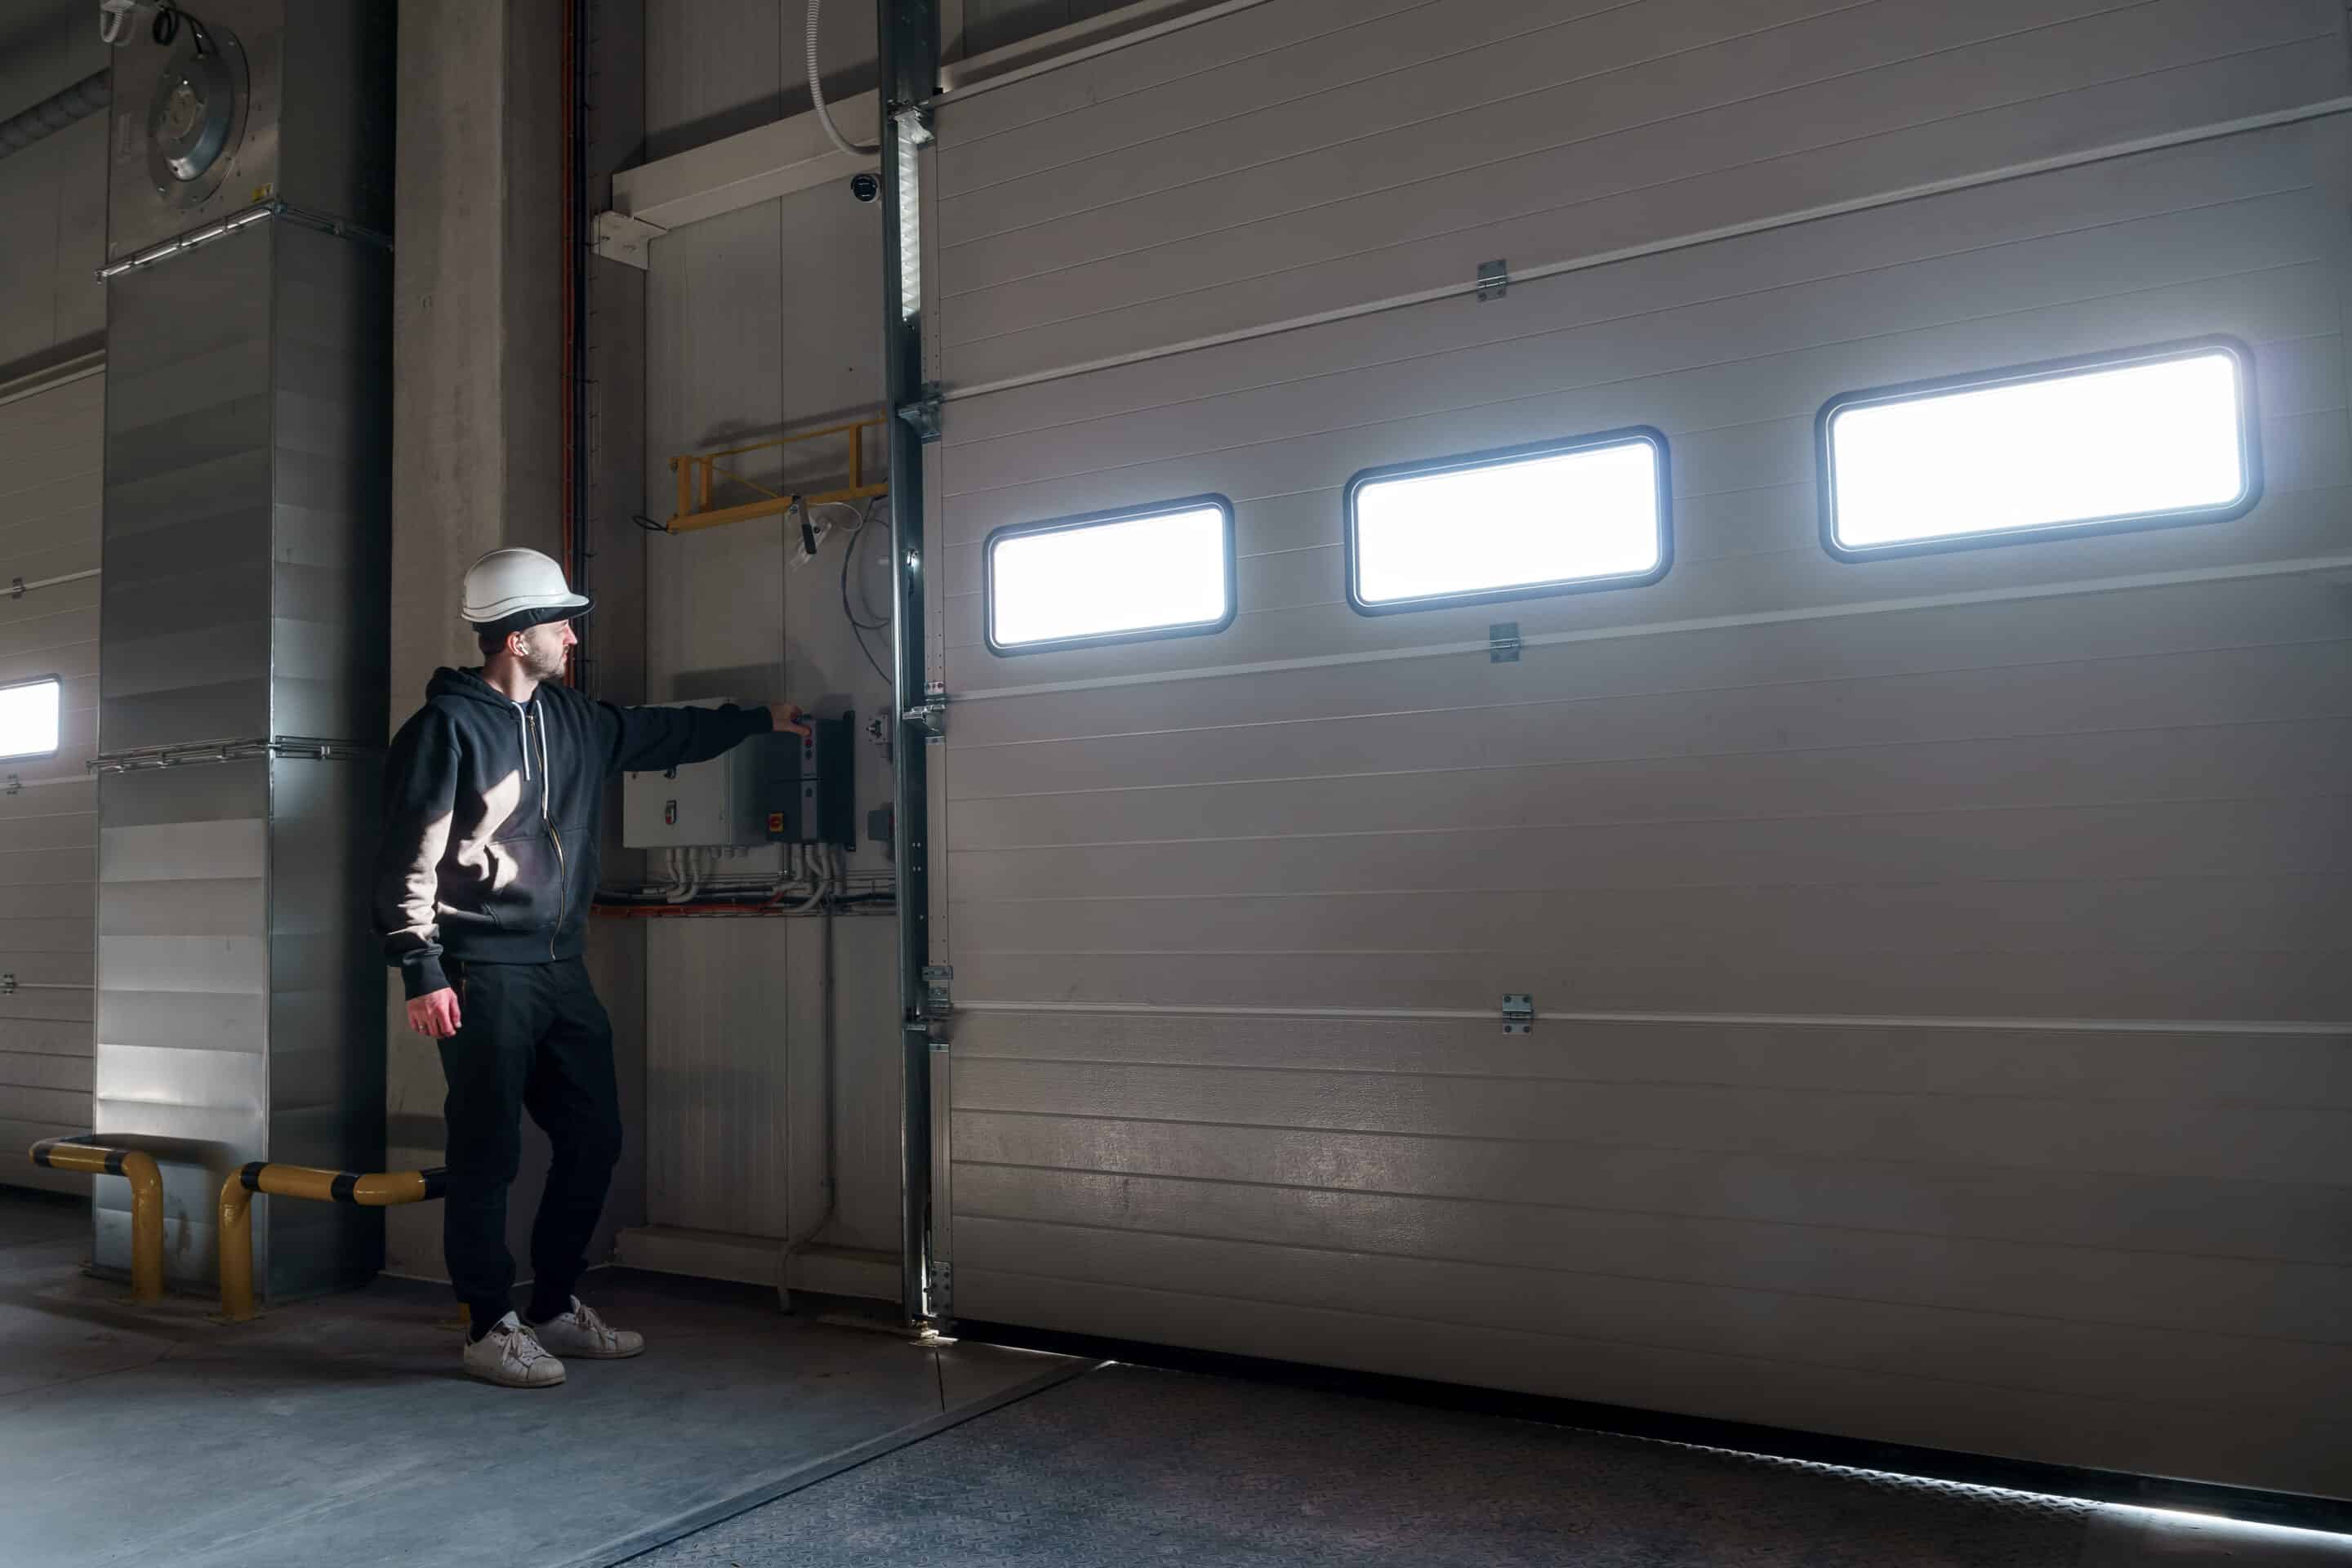
Properly functioning garage doors are heavy pieces of machinery that operate under immense tension. Skipping a few steps during garage door installation can lead to mechanical failure or safety hazards. By following a strict checklist of garage door installation safety checks, you ensure the longevity of your hardware and the safety of your household.
1. Inspecting the Structural Integrity of the Tracks
Before the door is even mounted, the tracks must be perfectly aligned and securely fastened.
- Vertical Alignment: Use a level to ensure the vertical tracks are plumb. If they lean, the door will bind.
- Bolts and Brackets: Ensure every bracket is anchored into solid wood or steel. Loose fasteners are a primary cause of noisy operation and premature wear.
- Debris Removal: Clear any metal shavings or dust from the tracks that may have accumulated during assembly.
2. Setting the Spring Tension Correctly
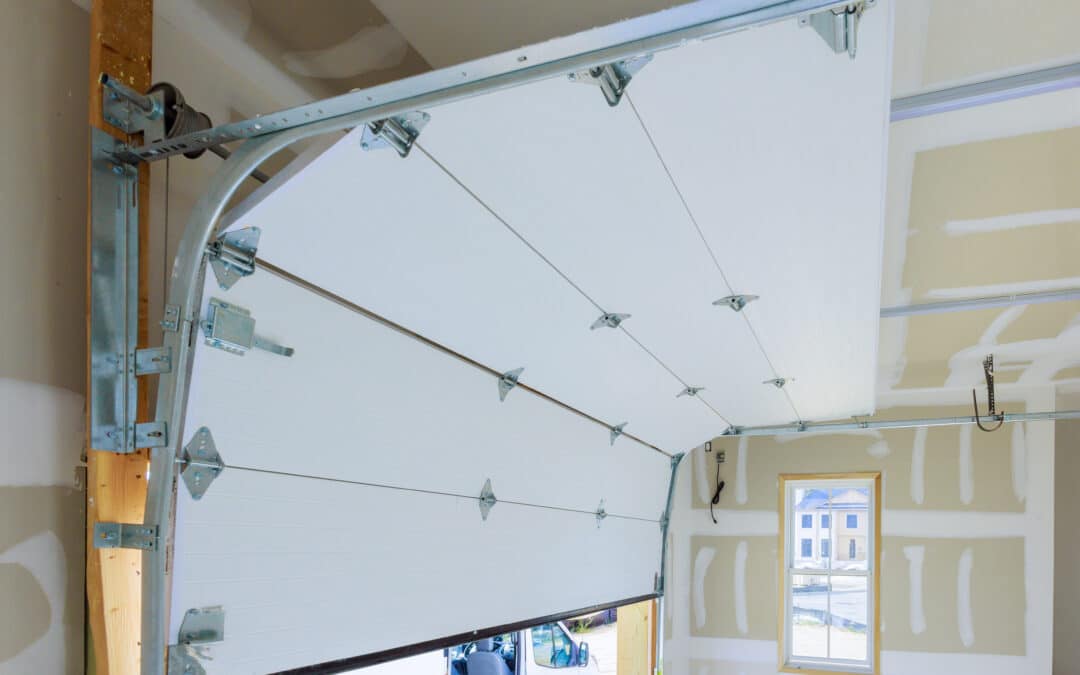
The springs are the most dangerous component of any garage door installation. Whether using torsion or extension springs, the tension must be balanced so the door can be moved manually with minimal effort.
- The Balance Test: With the opener disconnected, lift the door halfway. It should stay in place. If it slams shut or shoots upward, the tension is incorrect.
- Winding Cone Security: Double-check that the set screws are tightened to the manufacturer’s specified torque.
3. Testing the Photo-Eye Sensors
Modern safety standards require infrared sensors to prevent the door from closing on obstacles. This is a non-negotiable part of garage door installation safety checks.
- Alignment Check: The LED lights on both sensors should be solid, not flickering.
- The Blockage Test: Place an object in the door’s path as it closes. The door should immediately reverse.
- Height Requirement: Ensure sensors are mounted no higher than six inches above the floor to detect small children or pets.
4. Calibrating the Mechanical Reversal System
Beyond the sensors, the motor itself has a force-sensitivity setting. This acts as a secondary defense if the photo-eyes fail.
- The 2×4 Test: Place a flat piece of wood (like a 2×4) on the ground where the door closes.
- System Response: When the door strikes the wood, it should reverse within two seconds. If it continues to apply pressure, the “down force” settings on the opener must be adjusted.
5. Verifying the Lifting Cables and Drums
The cables carry the entire weight of the door. During a garage door installation, a frayed or improperly seated cable can lead to a catastrophic “door off track” scenario.
- Seating: Ensure the cables are perfectly wound within the grooves of the drums.
- Condition: Inspect the entire length of the cable for any kinks or broken strands.
6. Lubrication and Final Hardware Tightening
The vibration of the first few cycles can loosen nuts and bolts.
- Tightening: Go over every hinge and roller carrier one last time.
- Lubrication: Apply a lithium-based or silicone spray to the springs, rollers, and hinges. Avoid using WD-40, as it acts as a degreaser rather than a long-term lubricant.
Conclusion and Final Safety Verification
Completing a garage door installation is a significant home improvement project that adds value and security. However, the job is not complete until the garage door installation safety checks are verified. Taking an extra thirty minutes to test the sensors, balance the springs, and check the reversal force can prevent years of mechanical issues.
If you want to ensure your system is operating at peak performance or need a professional eye to verify your setup, visit Liftup Garage Door Services for expert assistance and reliable maintenance. Our team specializes in precision installations that prioritize the safety of your home and family. Book your safety inspection today to enjoy peace of mind with every click of the remote.
Frequently Asked Questions
How often should I perform garage door safety checks?
While a full inspection is vital during the initial garage door installation, you should perform the reversal and sensor tests every six months to ensure ongoing safety.
Can I install a garage door by myself?
Garage door installation is a complex task involving high tension springs. While possible for experienced DIYers, professional installation is recommended to ensure all safety codes are met.
Why does my garage door reverse before hitting the floor?
This is often due to misaligned sensors or the “close limit” being set too deep, causing the door to think it has hit an obstruction when it touches the ground.
What is the most dangerous part of a garage door?
The springs (torsion or extension) are under extreme tension and can cause severe injury if they snap or are handled without the proper tools.
by LiftUp Garage Door Services | May 13, 2026 | garage services
A functioning garage door is essential for both convenience and home security. However, when a garage door cable snaps or frays, the entire system poses a significant safety hazard. Understanding how to replace garage door cable components properly is vital for homeowners who want to maintain their garage door installation without compromising safety.
Understanding the Role of Garage Door Cables
Before beginning any repair, it is crucial to understand that cables work in tandem with the torsion or extension springs. They bear the door’s weight as it moves. If a garage door cable fails, the door may lift unevenly or crash down unexpectedly.
Recommended Semantic Keywords to Include:
- Torsion springs
- Bottom brackets
- Cable drums
- Winding bars
- Garage door safety
- Pulley system
- Locking pliers
Essential Tools for Garage Door Cable Replacement
To ensure a professional-grade garage door installation and repair, gather the following tools:
- Properly sized replacement cables
- Winding bars (if dealing with torsion springs)
- Locking pliers (C-clamps)
- Wrenches and socket sets
- Safety gloves and eye protection
Step 1: Prioritize Safety First
Garage doors are under immense tension. Before learning how to replace garage door cable parts, you must disconnect the power to your garage door opener. Open the door fully, then secure it by placing locking pliers on the track beneath the bottom roller. This prevents the door from falling while you work on the garage door installation.
Step 2: Release Spring Tension
This is the most critical stage. If you have a torsion spring system, you must carefully unwind the springs using professional winding bars. Never use screwdrivers for this task. Slowly loosen the setscrews on the winding cone and unwind the tension until the garage door cable is slack.
Step 3: Remove the Broken Garage Door Cable
Once the tension is gone, slide the cable off the cable drum at the top of the track. Follow the cable down to the bottom bracket. You will likely need to remove a pin or unscrew a bolt to release the bottom loop of the garage door cable. Ensure you inspect the bottom bracket for wear and tear, as this is a primary point of contact for the garage door installation hardware.
Step 4: Threading the New Cable
Take your new garage door cable and attach the looped end to the peg on the bottom bracket. Thread the cable up the side of the door, ensuring it sits behind the rollers. Guide the cable over to the cable drum. It is essential that the cable is seated correctly in the drum grooves to prevent future fraying or “jumping” off the track.
Step 5: Setting the Tension
With the new garage door cable in place, tighten the setscrews on the cable drum. You will then need to rewind the torsion springs to the manufacturer’s specified number of turns. This balances the garage door installation, allowing the door to be opened manually with ease.
Step 6: Testing the Balance
Remove the locking pliers and restore power. Manually lift the door halfway. If it stays in place, the balance is correct. If it slides down or snaps up, the tension needs to be adjusted. Proper garage door installation ensures the door moves smoothly without straining the motor.
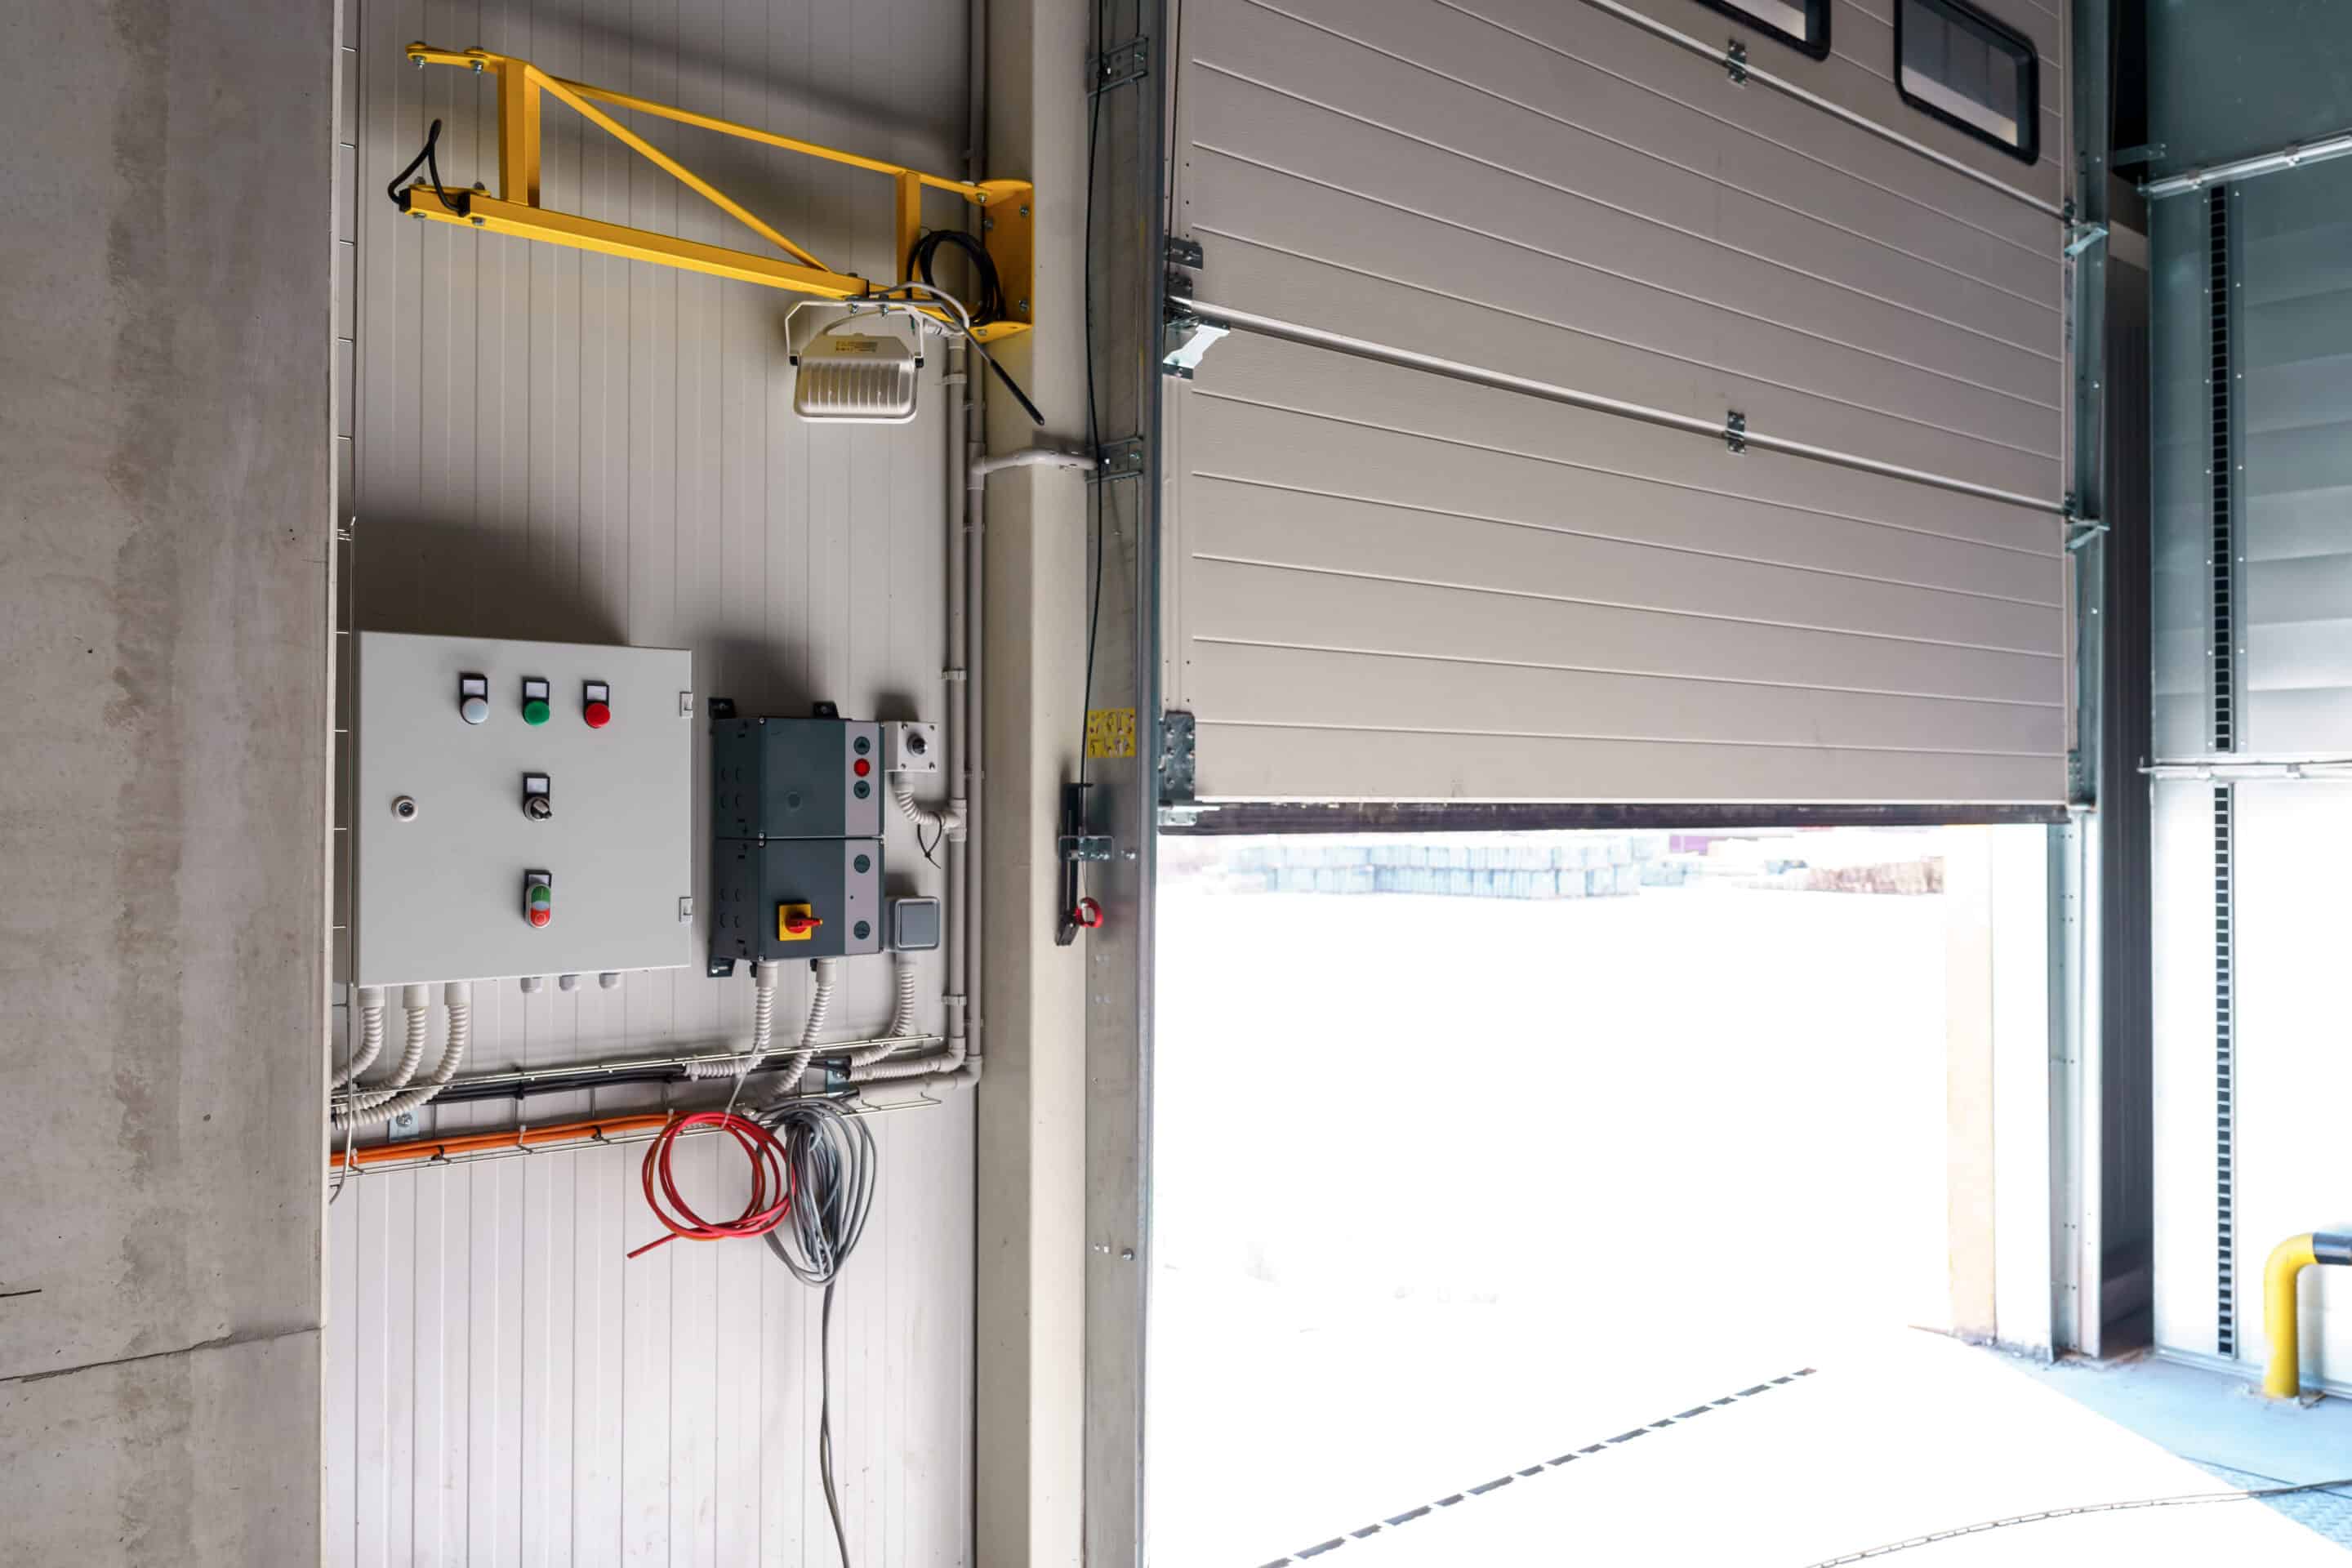
Why Professional Inspection Matters
While many homeowners want to know how to replace garage door cable systems themselves, these components are under high pressure. A mistake can lead to serious injury or damage to your property. If the springs appear rusted or the drums are cracked, it is best to consult a professional to ensure your garage door installation remains compliant with safety standards.
Conclusion
Mastering how to replace garage door cable components can save you time and keep your home secure. However, the complexity of a garage door installation should never be underestimated. Regular maintenance is the best way to avoid emergency repairs.
If you are unsure about handling high-tension springs or want to ensure your door is perfectly balanced, let the experts handle it. Visit Liftup Garage Door Services today for professional assistance, safety inspections, and reliable repair solutions to keep your home running smoothly.
Frequently Asked Questions (FAQs)
How often should I check my garage door cable?
You should visually inspect your garage door cable every six months for signs of fraying, rust, or kinks. Catching these issues early prevents a total failure of your garage door installation.
Can I replace just one garage door cable?
It is highly recommended to replace both cables at the same time. If one has snapped, the other has likely experienced the same amount of wear and tear and may fail shortly after.
Is it dangerous to replace a garage door cable?
Yes, because cables are connected to high tension springs. If you are not comfortable using winding bars or handling heavy door components, it is safer to hire a specialist for your garage door installation repairs.
What causes a garage door cable to break?
Common causes include rust, wear and tear over time, or the cable rubbing against other parts of the track. Regular lubrication can extend the life of your garage door cable.
How do I know what size cable I need?
The length and thickness of the garage door cable depend on the height and weight of your door. Standard seven foot doors usually require specific lengths that match the drum type.

by LiftUp Garage Door Services | May 8, 2026 | garage services

Investing in a new garage door enhances your home’s curb appeal, security, and energy efficiency. However, the technical complexity of modern systems means that having a robust garage door installation warranty is not just a perk but a necessity. A comprehensive warranty acts as a safety net, ensuring that any mechanical failures or installation errors are corrected without unexpected out-of-pocket costs.
At Liftup Garage Door Services, we believe transparency is the foundation of a reliable partnership. In this guide, we will break down the different layers of protection available when you schedule a garage door installation, helping you understand exactly what is covered and how to maintain your specialized coverage.
Understanding the Three Tiers of Coverage
A standard garage door installation typically involves three distinct types of warranties. Knowing the difference between them helps you identify exactly who to call if an issue arises.
1. Manufacturer Product Warranty
This is provided by the company that built the door itself. It specifically covers manufacturing defects in the door panels, tracks, or hardware. Depending on the model and material, these can range from a few years to a lifetime limited warranty.
2. Garage Door Installation Workmanship Warranty
This is provided directly by the service provider. If a technician incorrectly aligns the tracks or fails to balance the springs during garage door installation, this warranty covers the labor required to correct the error. Reputable companies typically offer at least one year of workmanship protection to ensure the setup is flawless.
3. Garage Door Opener Warranty
If your project includes a new motorized opener, the motor and its electronic components are usually covered under a separate policy from the opener manufacturer. Higher end models often feature lifetime coverage on the motor and belt to guarantee long term operation.
What Does a Standard Garage Door Installation Warranty Cover?
When reviewing your contract, look for these specific components to ensure you have comprehensive protection:
- Structural Integrity: Coverage against warping, cracking, or splitting of the door panels.
- Paint and Finish: Protection against premature fading, rusting, or peeling of the factory finish.
- Moving Parts: Coverage for high tension springs, rollers, hinges, and cables that may fail due to material defects.
- Labor Costs: Some warranties only cover the replacement part, while premium plans also include the technician’s on-site labor fee.
Common Exclusions: What Is Not Covered?
To maintain a reliable and safe garage system, it is important to be realistic about warranty limitations. Most policies will not cover:
- Accidental Damage: If a vehicle accidentally impacts the door, this falls under homeowners insurance rather than a service warranty.
- Natural Disasters: Damage from extreme wind, hail, or flooding is typically excluded from standard mechanical warranties.
- Lack of Maintenance: Most manufacturers require annual professional tune-ups. If a part fails because it was never lubricated or inspected, the claim may be denied.
- Unauthorized Repairs: Attempting DIY garage door repairs on a system under warranty often immediately voids the agreement, as it introduces safety risks.
- Register Your Product: Many manufacturers require you to register your new door online within 30 to 60 days of the garage door installation.
- Keep Digital Records: Save your original invoice and the signed warranty agreement in a digital folder for quick access.
- Schedule Regular Inspections: Professional maintenance once a year helps keep your door in peak condition and your warranty valid.
- Use Certified Technicians: Only allow authorized professionals to perform adjustments or repairs on your system to ensure the warranty remains intact.
The Role of Professional Expertise in Warranty Security
Choosing a professional for your garage door installation is about more than just getting the door hung correctly. It is about establishing a relationship with a company that stands behind its work. At Liftup Garage Door Services, we prioritize precision in every nut and bolt. A correctly installed door experiences less friction and wear, which naturally extends the life of your components and reduces the likelihood of ever needing to file a warranty claim.
Whether you are looking for a sleek modern design or a durable traditional steel door, our team ensures that every garage door installation meets the highest industry standards. We provide the documentation and support you need to feel confident that your investment is secure for years to come.
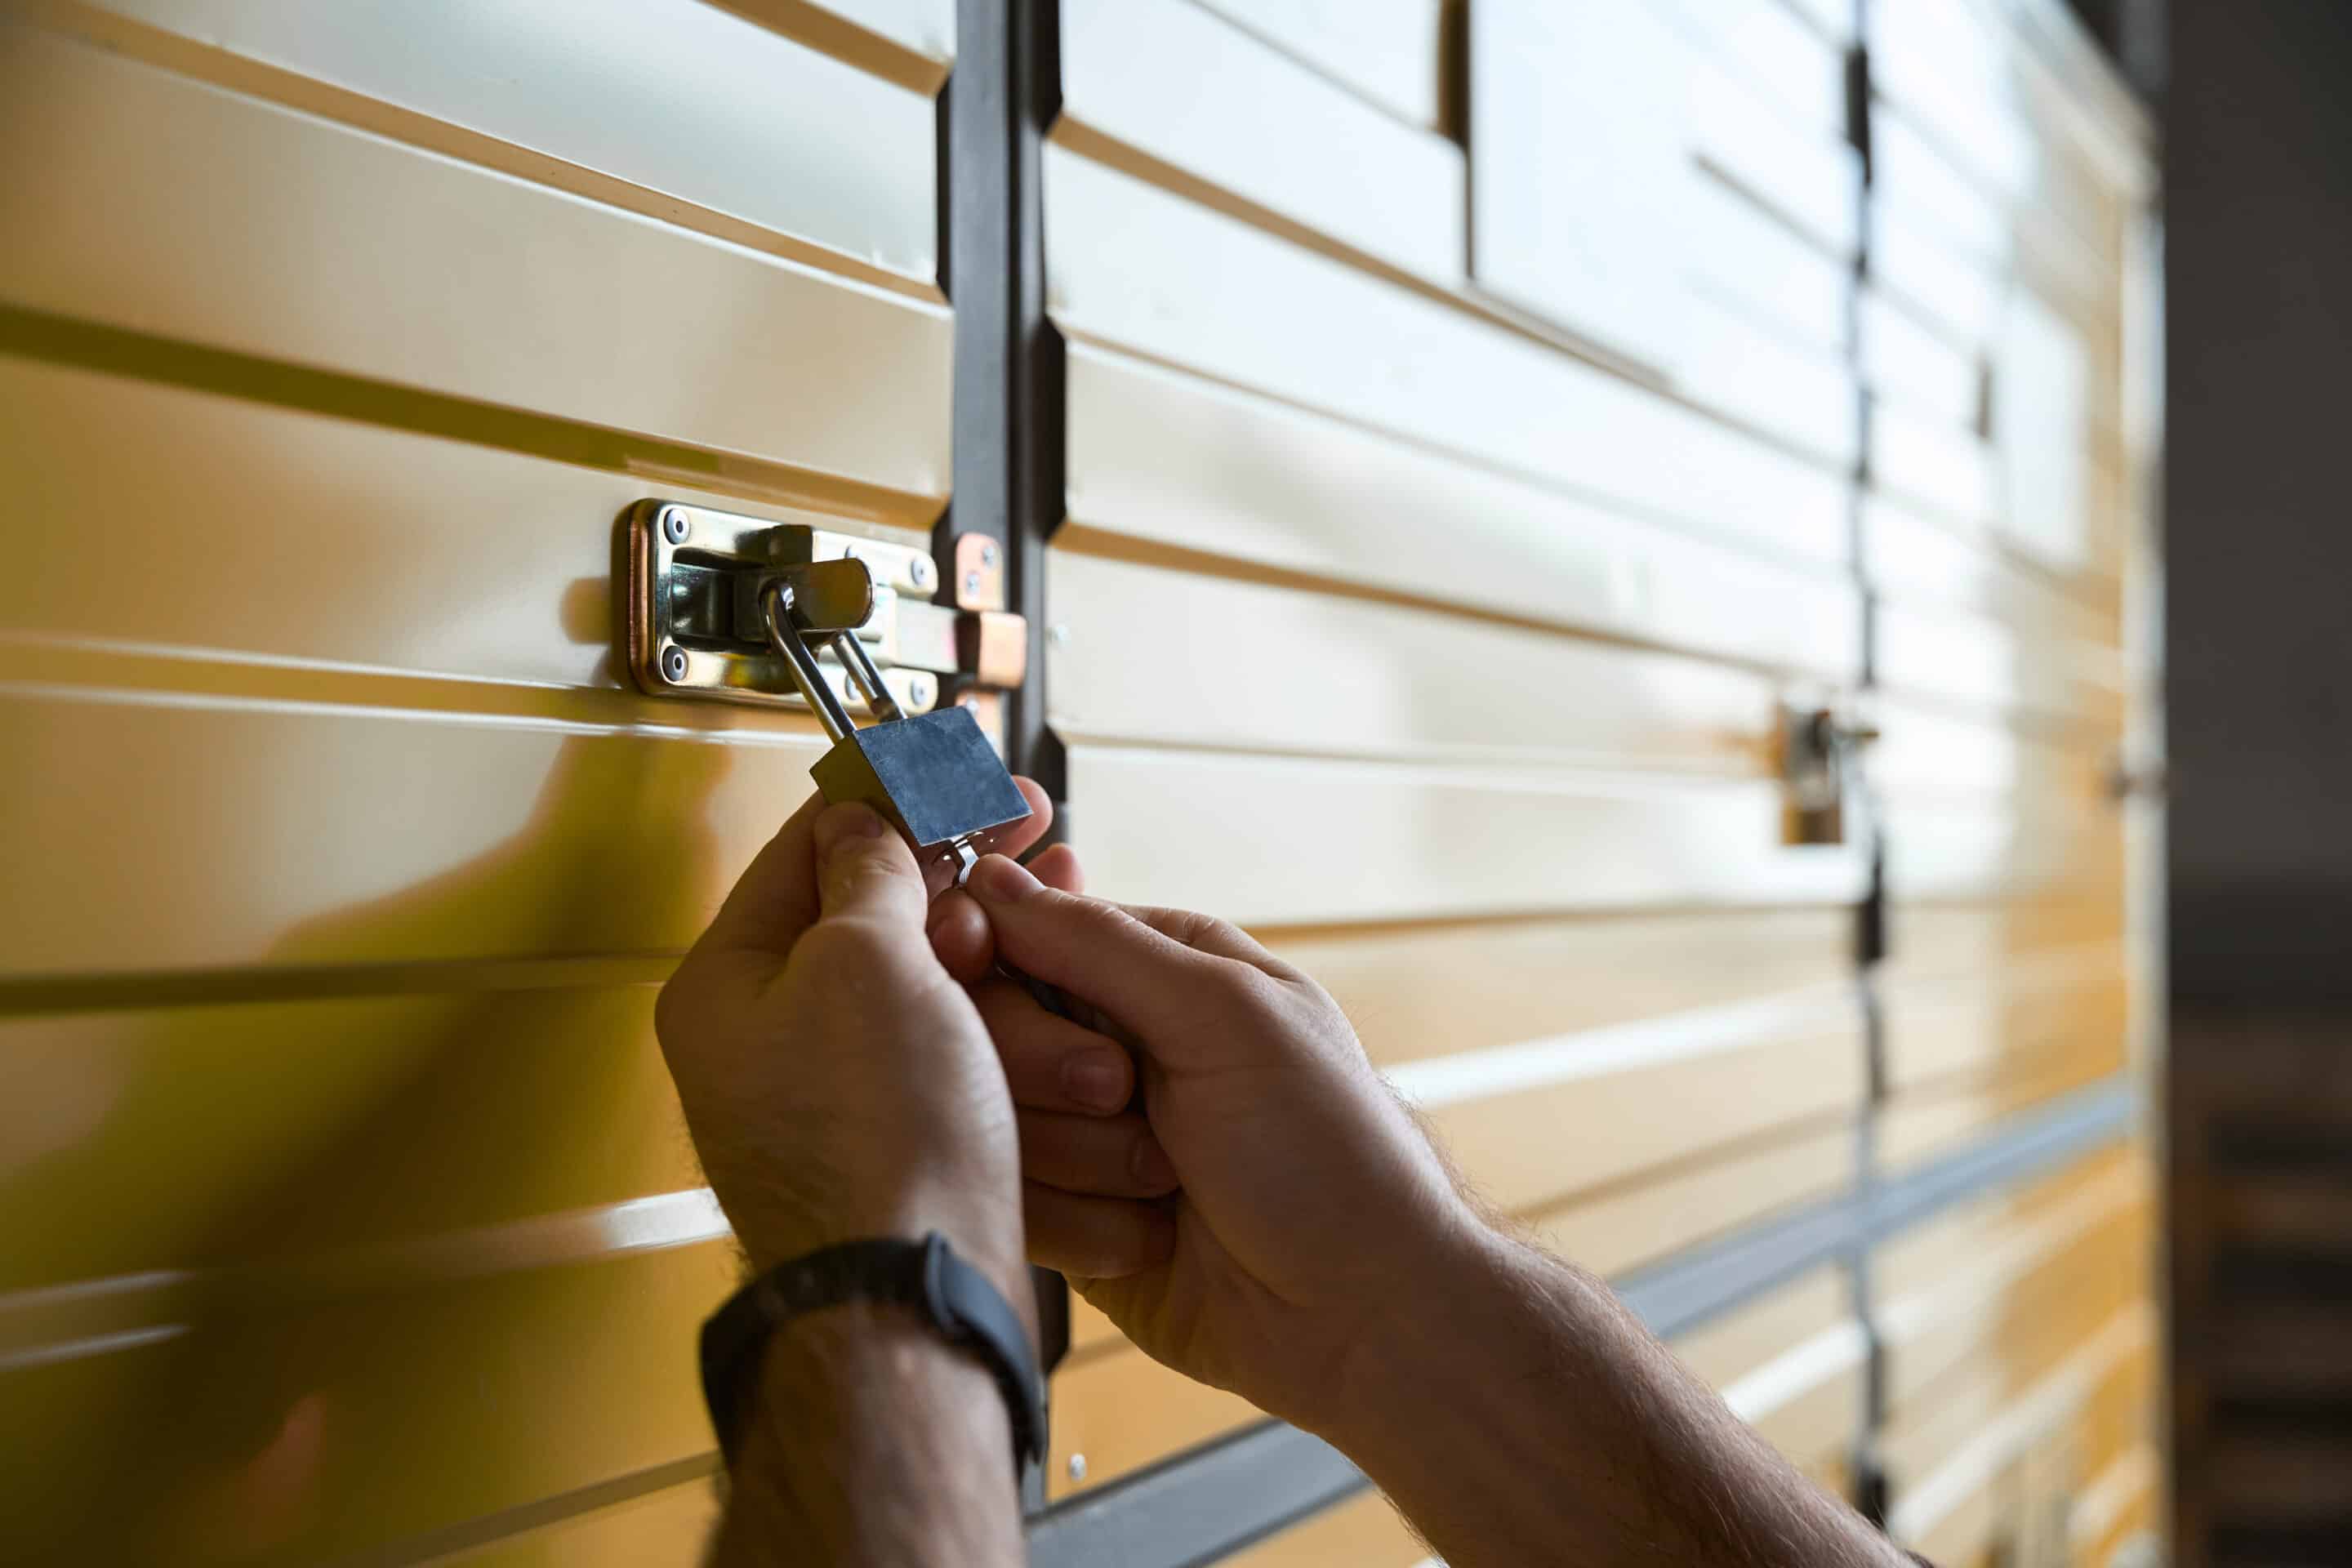
Finalizing Your Peace of Mind
A garage door installation warranty is the ultimate tool for protecting your home investment. By choosing a provider that offers clear, written guarantees on both parts and labor, you ensure that your garage door remains a functional and beautiful part of your home for decades. Don’t leave your home’s security to chance. Verify your warranty details today and enjoy the peace of mind that comes with knowing you are covered.
Frequently Asked Questions (FAQs)
How long does a garage door labor warranty usually last?
Most reputable installation companies offer a workmanship or labor warranty that lasts between one and three years. This specifically covers the quality of the installation work itself.
Does a warranty cover a broken garage door spring?
If the spring fails due to a manufacturing defect within the specified warranty period, it is covered. However, springs have a finite lifespan and will eventually break from normal wear and tear, which is usually not covered.
Will painting my garage door void the warranty?
In many cases, yes. Most factory finishes are specifically engineered for durability. Applying an unapproved aftermarket paint can void the finish warranty because it may cause the material to trap heat or moisture improperly.
Is a garage door installation warranty transferable to a new homeowner?
This depends on the specific policy. Some manufacturers’ warranties are transferable if the proper paperwork is filed, while many labor warranties apply only to the original purchaser.
What is the difference between a warranty and a service plan?
A garage door installation warranty covers unexpected failures and defects. A service plan is a proactive agreement in which a technician visits regularly to perform maintenance and prevent failures.
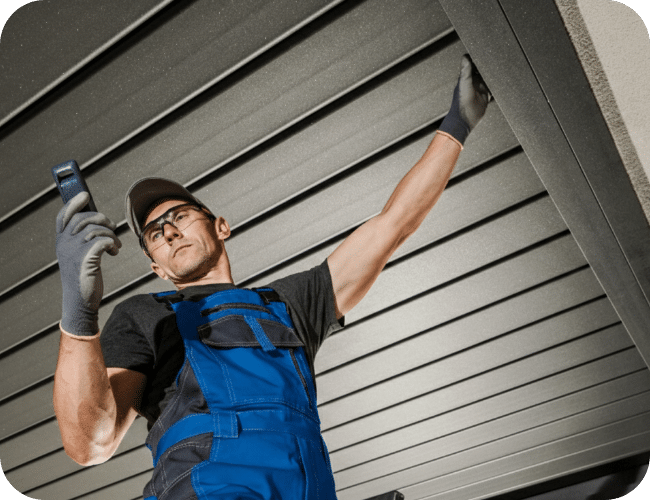
by LiftUp Garage Door Services | Apr 6, 2026 | garage services

Replacing your garage door is one of the most effective ways to boost your home’s curb appeal and security. In 2026, homeowners are finding that this project offers one of the highest returns on investment of any home remodel. However, understanding what influences the cost of professional garage door installation is essential for proper budgeting.
At LiftUp Garage Door Services, we provide high-quality solutions tailored to your specific needs. While every home is unique, the total investment is typically shaped by several key variables.
Primary Factors Affecting Your Total Investment
The cost of professional garage door installation comprises two main parts: the door system itself and the expert labor required to install it safely. Here is how those factors are typically evaluated.
1. Choice of Material
The material you choose is often the most significant variable in your project.
- Steel: A popular and durable option known for being a practical choice for many homeowners.
- Aluminum: Highly resistant to rust and ideal for humid climates or modern architectural styles.
- Wood: Offers a premium, classic look that provides unmatched natural beauty but requires more maintenance.
- Fiberglass or Vinyl: Known for being incredibly durable and dent-resistant, making them great for active households.
2. Door Size and Configuration
The dimensions of your garage directly impact the cost of professional garage door installation.
- Single Car vs. Double Car: Naturally, a larger door requires more material and heavier-duty hardware.
- Custom Sizes: Homes with non-standard openings may require custom framing or specialized door dimensions.
- Sectional vs. Roll-up: While sectional doors are the residential standard, specialized styles like carriage house doors may increase the complexity of the required hardware.
3. Insulation and Energy Efficiency
If your garage is attached to your home or used as a workspace, insulation is a vital upgrade. Investing in a higher-R-value door can increase the initial cost of professional garage door installation, but it often pays for itself over time through reduced energy bills and improved temperature control in rooms adjacent to the garage.
Why Professional Labor is a Vital Part of the Investment
While some homeowners consider a DIY approach, professional garage door installation offers specialized expertise that protects your home and family.
Hiring the team at LiftUp Garage Door Services ensures:
- Safe Handling of Springs: Garage door springs are under immense tension and can be dangerous if handled incorrectly.
- Precision Balancing: An imbalanced door puts unnecessary strain on your opener, leading to expensive repairs later.
- Warranty Protection: Many manufacturers only honor warranties if the door is installed by a certified professional.
- Old Door Disposal: Professional service includes the heavy lifting and responsible disposal of your old door.
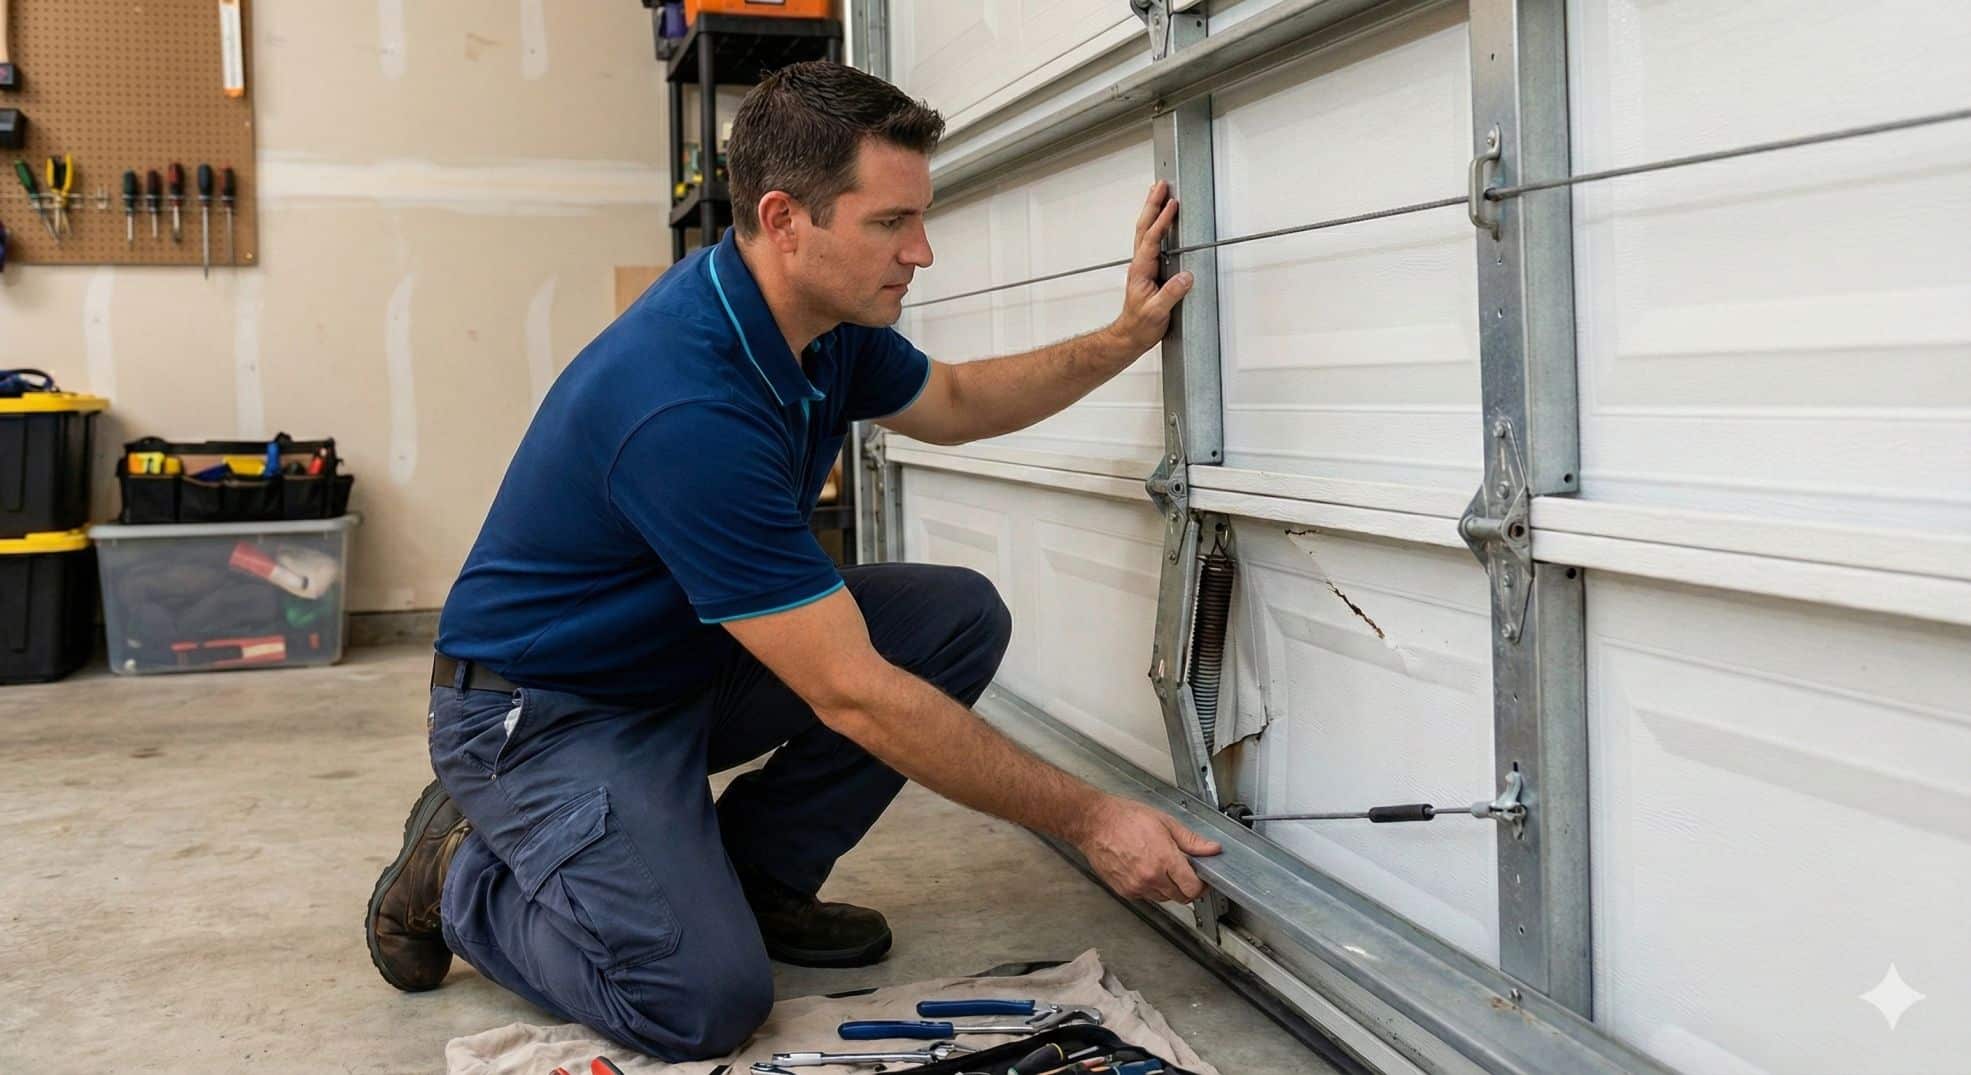
Is a New Garage Door Worth the Investment?
In 2026, real estate experts consistently rank garage door replacement as a top home improvement for adding resale value. Beyond the finances, a new door provides quieter operation, better security, and modern smart features that improve your daily life.
Frequently Asked Questions
Does the installation include a new garage door opener?
Standard installation quotes usually cover the door, tracks, and hardware. If you wish to upgrade to a modern smart opener, this is typically added as a separate component to the total cost of professional garage door installation.
How often should I replace my garage door?
Most high quality doors last between 15 and 20 years. If your door has structural damage, excessive rust, or lacks modern safety sensors, it is likely time for a replacement.
Can I use my old tracks with a new door?
We strongly recommend against this. Each door is designed to work with a specific track-and-spring system. Using old tracks can compromise safety and will likely void your manufacturer’s warranty.
Are permits required for garage door installation?
In many areas, a permit is required to ensure the installation meets local wind load and building codes. LiftUp Garage Door Services can help you navigate these local requirements to ensure your home stays compliant.
Conclusion
Understanding the factors behind the cost of professional garage door installation helps you choose the best value for your home. By balancing material quality with expert installation, you ensure a door that looks great and functions perfectly for years to come.
Contact LiftUp Garage Door Services today for a transparent, no-obligation assessment tailored to your home’s specific needs.

by LiftUp Garage Door Services | Apr 1, 2026 | garage services

A garage door is the largest moving object in your home. Whether you are upgrading for curb appeal or replacing a broken system, hiring a garage door professional ensures the job is done safely and correctly. To help you navigate this process, we’ve outlined the critical questions and steps for a successful garage door installation consultation.
Why You Should Ask Garage Door Installer Experts the Right Questions
Not all contractors offer the same level of precision. By knowing exactly what to ask garage door installer teams, you protect your investment and ensure long term operational safety.
Essential Garage Door Installer Qualifications
Before any tools touch your driveway, verify that your technician meets these garage door installer qualifications:
- Licensing and Insurance: Ensure they carry general liability and workers’ compensation.
- Manufacturer Certification: Are they authorized dealers for reputable brands?
- Years in Business: Experience matters when dealing with high tension springs and complex sensors.
Key Questions for Your Garage Door Installation Consultation
During your initial garage door installation consultation, use this checklist to vet your contractor:
- “Do you use subcontractors or in house employees?” In house teams are generally more accountable for the quality of the work.
- “What is included in the quote?” Confirm if the price covers the door, track, springs, rollers, and the disposal of your old door.
- “What safety hardware do you install?” Ensure they follow overhead door safety standards, including high cycle springs and photo eye sensors.
- “What kind of warranty do you provide?” Differentiate between the manufacturer’s warranty on the door and the installer’s warranty on labor.
Important Technical Considerations
When hiring a garage door professional, don’t forget to discuss the technical specifications that impact your home’s energy efficiency and durability:
- R Value and Insulation: If your garage is attached, ask for a door with a high R-value to reduce energy costs.
- Spring Lifespan: Standard springs last about 10,000 cycles. Ask if they offer high cycle springs (25,000+ cycles) for heavy use.
- Wind Load Requirements: Depending on your GEO location, your door may need to meet specific local building codes for wind resistance.
Frequently Asked Questions (FAQs)
How do I know if I’m hiring a reputable garage door professional?
Check for physical business addresses, online reviews (Google, Yelp), and memberships in professional organizations like the International Door Association (IDA).
What should I ask garage door installer pros about maintenance?
Ask for a post installation walkthrough. A pro should show you how to test the auto reverse safety feature and how to lubricate the tracks and rollers.
Is a garage door installation consultation usually free?
Most reputable companies offer a free garage door installation consultation to provide an accurate estimate based on your specific opening measurements and material preferences.
What are the standard qualifications for a garage door installer?
Look for a valid contractor’s license, a minimum of $1M in liability insurance, and a portfolio of completed local projects.
Conclusion: Making the Right Choice for Your Home
Choosing the right professional is just as important as choosing the door itself. When you take the time to ask garage door installer candidates the right questions, you aren’t just buying a product; you’re investing in the safety, security, and curb appeal of your property.
By prioritizing garage door installer qualifications and conducting a thorough garage door installation consultation, you eliminate the guesswork and avoid the hidden costs of poor workmanship. Remember, hiring a garage door professional who prioritizes overhead door safety standards will provide peace of mind that lasts long after the installation is complete. Ready to upgrade? Use the checklists above to vet your local experts and ensure your next project is an open-and-shut success.

by content@click4corp.com | Mar 11, 2026 | garage services
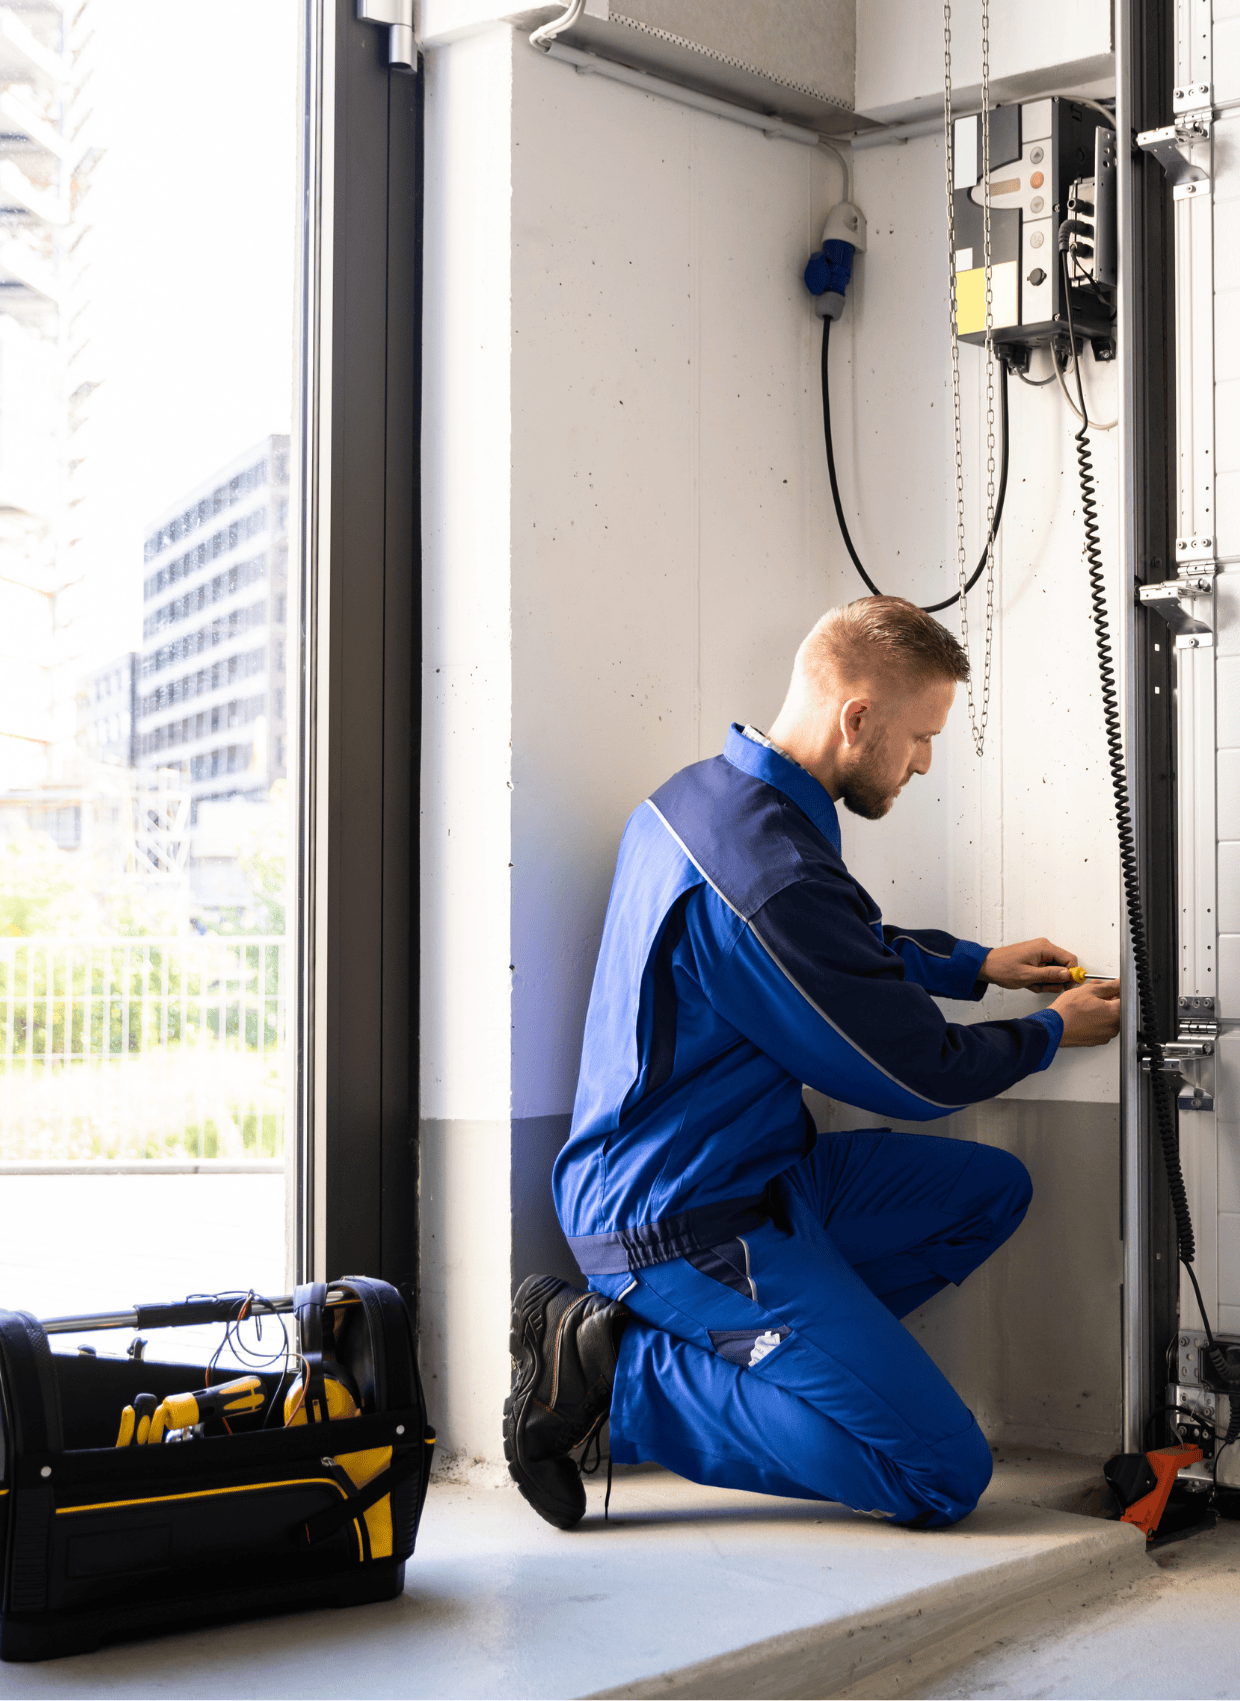
If you are wondering about the timeline for your home improvement project, here is the short answer. In most homes, installing a new garage door usually takes about 3 to 6 hours when done by a trained technician. The exact answer to how long does a professional garage door installation take can change depending on the door type, the condition of the existing system, and whether you are replacing an old door or installing a completely new garage door system.
Many homeowners think installing garage doors takes an entire day. In reality, an experienced professional installer can often complete the job in a few hours. However, some projects may take longer due to the complexity of the installation, the size of the door, or other repairs required.
At LiftUp Garage Door Services, technicians install and replace residential garage doors across Northeast Florida every day. Below, you will learn the average timeline and the key factors that affect the total duration of the process.
Average Timeline for Professional Garage Door Installation
For a standard residential garage door, the average installation time is usually between 3 and 6 hours. When clients ask how long does a professional garage door installation take, we break down the full process into specific phases.
The Full Installation Checklist
- Removing the old garage door and hardware
- Installing tracks and mounting hardware
- Setting up the high-tension spring system
- Installing garage door panels and hinges
- Connecting the opener and testing safety sensors
If the project is straightforward and the opening is standard, the door company may finish the job even faster. In some cases, the time to install a garage door can take as little as 2 to 3 hours.
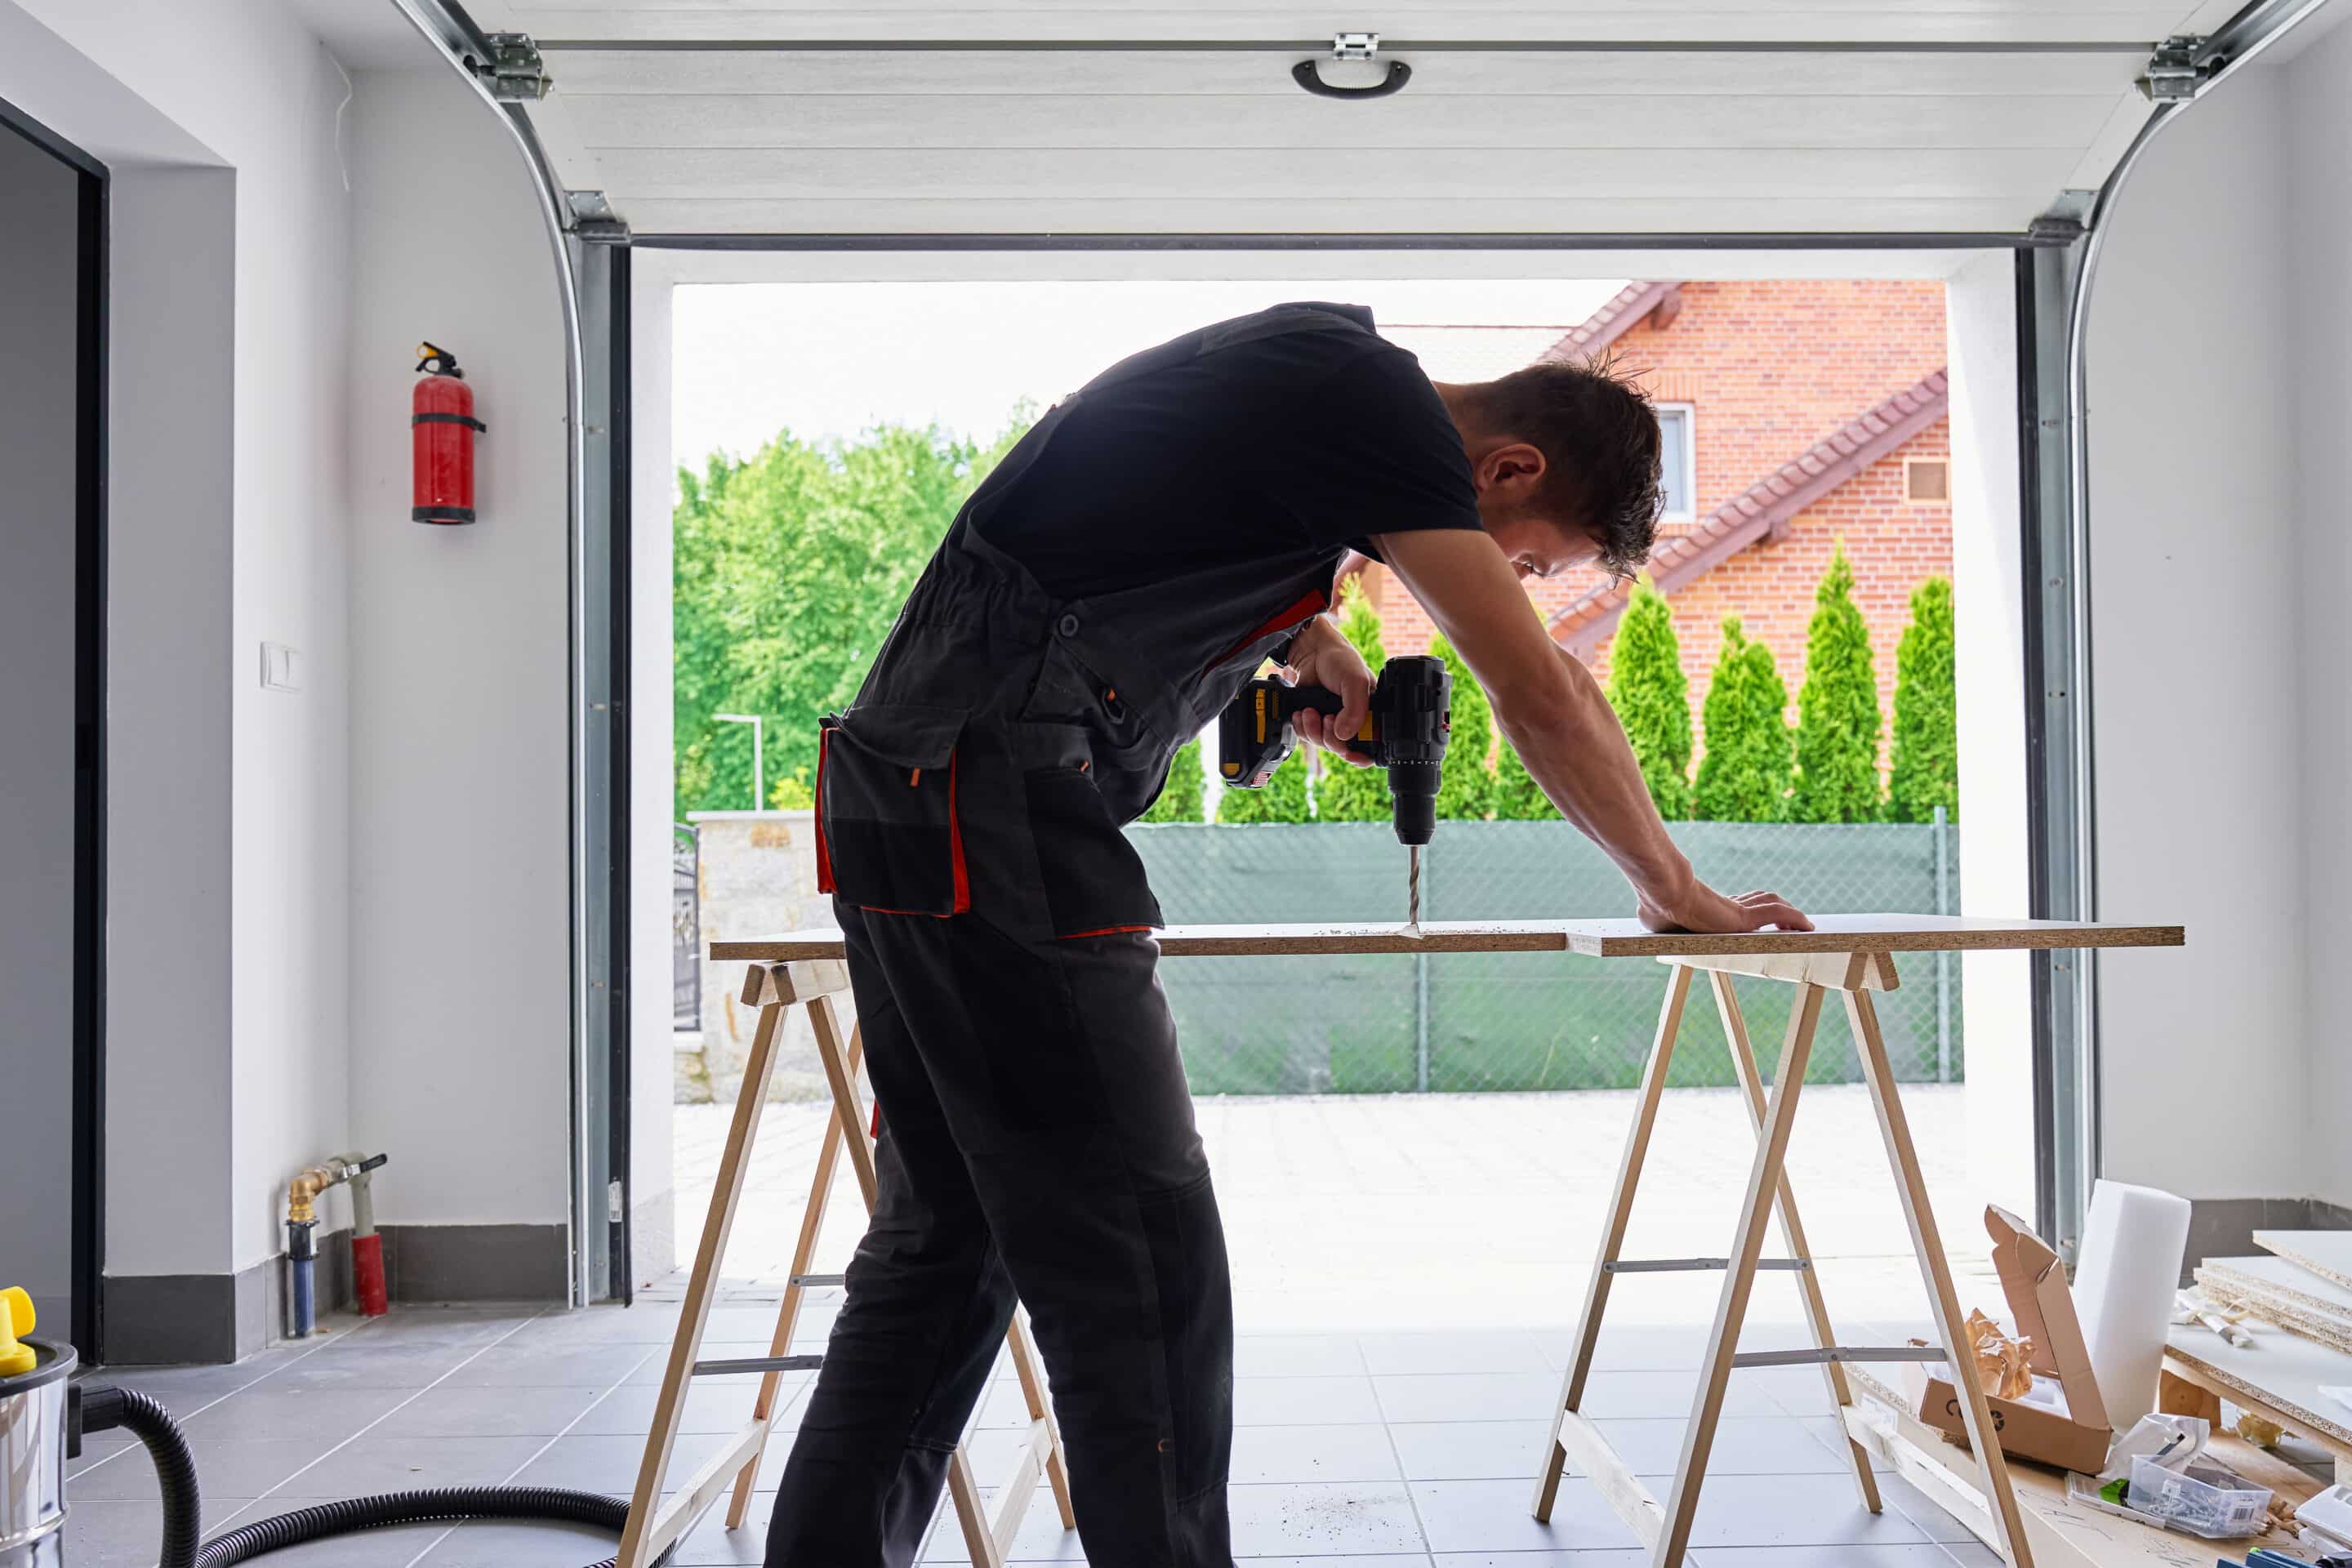
Garage Door Replacement Duration vs New Installation
One major factor that determines how long does a professional garage door installation take is whether the installer is replacing an existing door or working with a brand new opening.
Replacing an Old Garage Door
Replacing an old garage door is the most common service we provide.
- Typical timeline: 3 to 5 hours.
- The process includes removing the old door and inspecting the garage opening for rot or damage. Because the framework already exists, replacing an old door tends to be more efficient.
Installing a New Garage Door in a New Garage
Installing garage doors in a new home or new garage space often takes slightly longer.
- Typical timeline: 4 to 6 hours or more.
- A new installation requires mounting every bracket from scratch and installing a full track system. If electrical wiring is needed for a new opener, the how long does a professional garage door installation take answer may lean toward the longer end of the spectrum.
The Step-by-Step Professional Installation Process
A professional installation company usually follows these steps to ensure safety and longevity.
- Initial Inspection: The installer checks the opening and current system for damaged framing or bent tracks.
- Removing the Old Door: Technicians carefully remove existing panels and high tension springs.
- Installing Tracks and Hardware: Precision alignment is vital so the door operates smoothly and avoids premature wear.
- Installing Garage Door Panels: Each panel is connected with hinges and rollers to move along the track.
- Installing the Spring System: Whether using torsion or extension springs, this requires skilled safety training because they hold high tension.
- Garage Door Opener Installation: Setting up the motor, rail system, and wall controls typically adds 1 to 2 hours.
Factors That Affect Your Installation Timeline
Every home is different. Several things can affect how long does a professional garage door installation take at your specific property.
- Type of Garage Door: Steel doors install quickly, while custom wood or heavily insulated doors require more fine tuning.
- Condition of the Existing System: If the mounting brackets are damaged, installers may need extra time for structural repairs.
- Door Size and Weight: A standard single door takes less time than a large double door or a commercial-grade residential door.
- Complexity: Custom garage doors or unusual garage openings may require specialized equipment and more time.
Frequently Asked Questions (PAA & AI Overview)
How long does a professional garage door installation take on average? Most standard residential installations are completed within 3 to 6 hours. Custom or oversized doors may take a full working day to ensure perfect alignment.
Can a garage door be installed in one day? Yes. At LiftUp Garage Door Services, we specialize in same-day garage door installation. As long as the door type is in stock and the site is prepared, the project is finished in a single visit.
What are the signs that I need a garage door replacement? Common warning signs include loud grinding noises, sagging panels, slow movement, and frequent repair needs. If your door shows visible damage to the tracks or springs, it is time for an upgrade.
What is the best garage door opener brand? We recommend reliable brands like LiftMaster, Chamberlain, and Genie. These brands offer superior durability and safety features for modern homes.
Upgrade Your Garage Door With a Trusted Local Expert
If you are planning to install a new garage door, working with experienced professionals makes the process faster and safer. LiftUp Garage Door Services provides expert garage door installation, garage door replacement, and opener services for homeowners across Northeast Florida.
Our team proudly serves: St. Augustine, St. Augustine Beach, Ponte Vedra, Ponte Vedra Beach, Jacksonville Southside, Palm Coast, Nocatee, and World Golf Village.
Call (904) 850-9727 today to schedule your service or learn more about how long does a professional garage door installation take for your specific home.
Also Read:
What should I look for in a professional garage door installation service?
How Much Does a Professional Garage Door Installation Cost?
by content@click4corp.com | Mar 3, 2026 | garage services
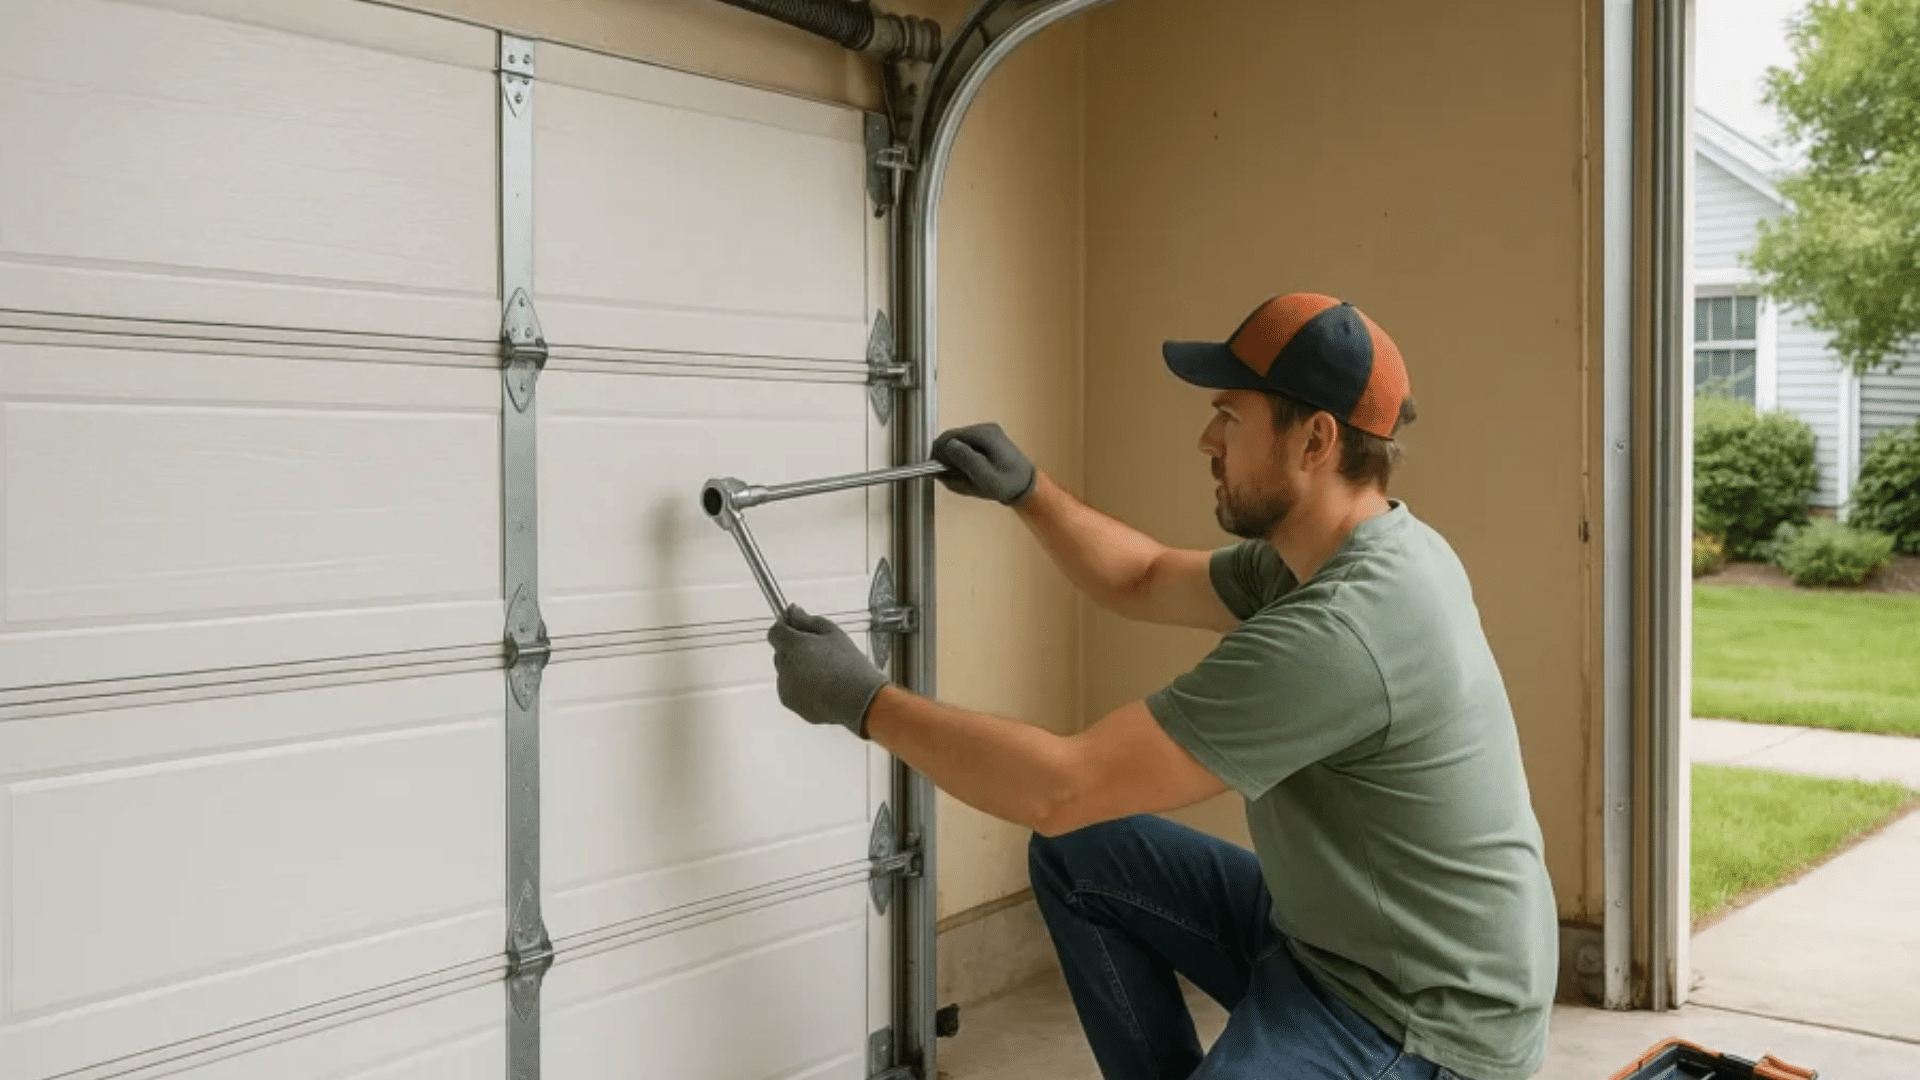
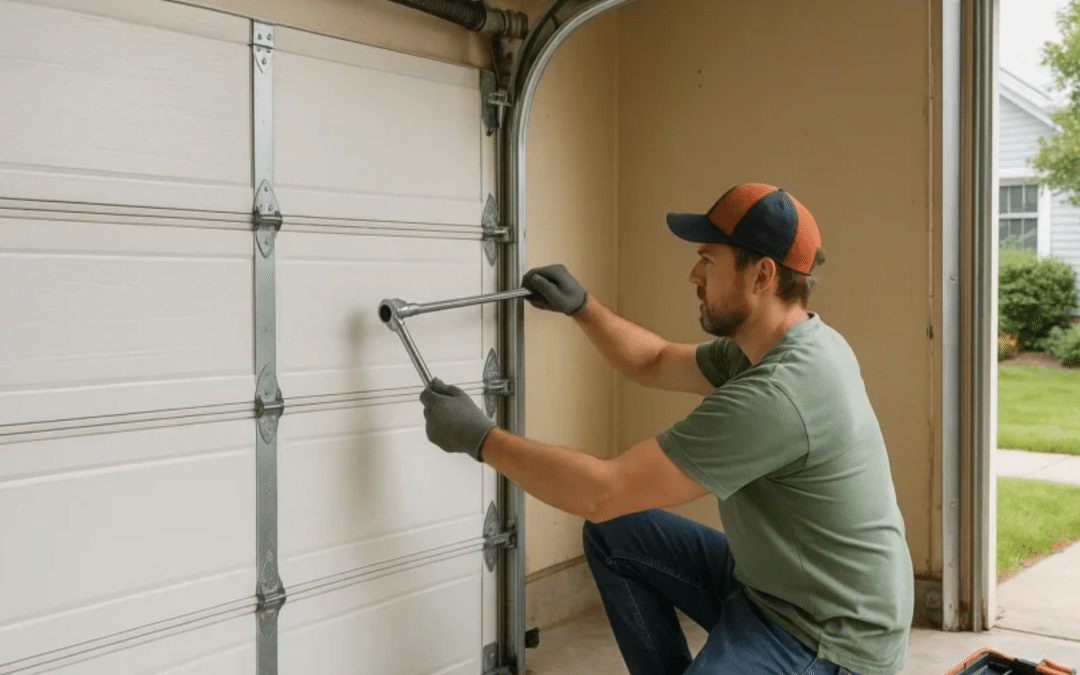
If you are hiring a professional garage door installation service, you should look for a licensed and insured company, certified garage door technicians, clear pricing, strong warranties, and a proven installation process. The right team will make sure your new garage door operates safely, smoothly, and lasts for years. Choosing the wrong installer can lead to costly repairs, unsafe parts, and major garage door issues.
At LiftUp Garage Door Services, homeowners across Northeast Florida often say they “can’t praise garage door service enough” after finally working with true installation experts. Keep reading to learn exactly what to look for before you hire any garage door installation company.
1. Make Sure They Are a Licensed Garage Door Installer
One of the first things to check is whether the company holds the proper license and insurance in FL. A licensed garage door installer follows state and local codes. They carry liability insurance and worker coverage, which protects your home and your family.
Why this matters:
- A garage door is heavy and under high tension
- Garage door springs and cables can cause injury if installed incorrectly
- Improper installation can void manufacturer warranties
- Poor work can damage your residential garage or commercial garage door system
A reliable garage door installation company should have no problem sharing proof of license and insurance.
2. Look for Certified Garage Door Technicians
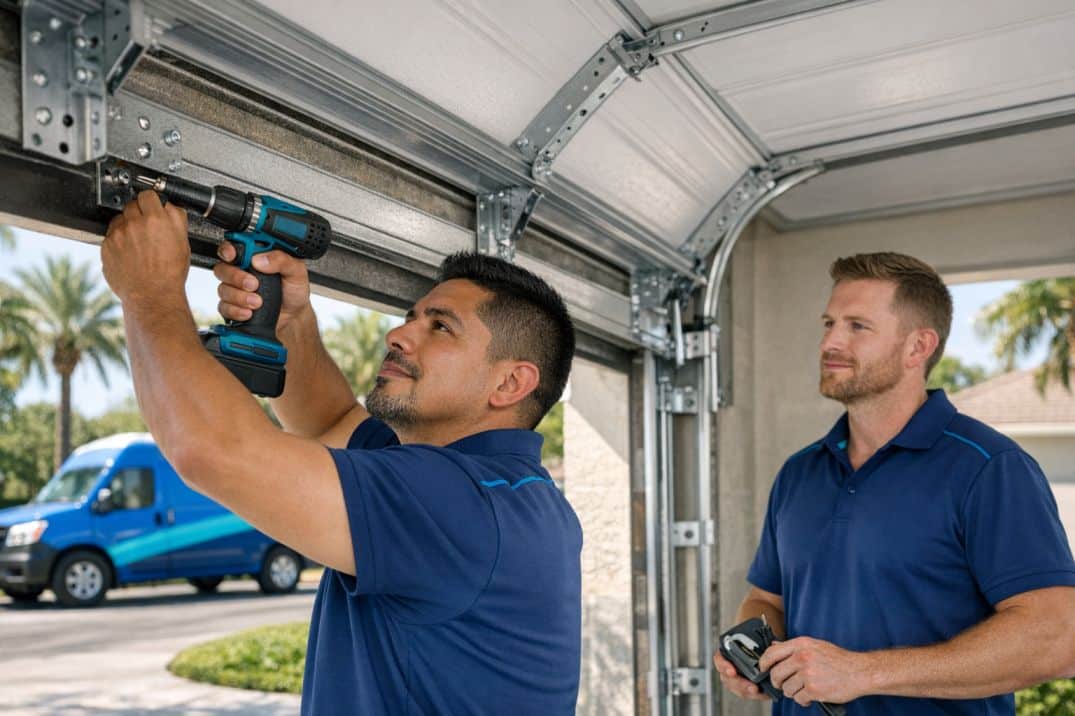
Not all garage door installers are trained the same. Certified garage door technicians receive proper training on safety, spring systems, opener setup, and door balance.
A professional residential garage door installation requires:
When garage door experts are professional and trained, every installation is done with care. This prevents emergency garage door repair calls later.
3. Check Their Installation Process
A top-notch garage door installation service should follow a clear, detailed process.
Here is what a reliable garage door installation process should include:
Before Installation
- On-site measurements
- Inspection of framing and opening
- Discussion of the right door for your home
- Help choosing the type of garage door
During Installation
- Removal of the old door
- Careful track and panel setup
- Proper garage door spring and cable setup
- Garage door opener installation and programming
After Installation
- Balance testing
- Safety sensor check
- Door operates smoothly test
- Full cleanup
- Walk-through with the homeowner
If a company rushes or skips steps, that is a red flag.
4. Experience With Residential and Commercial Garage Doors
A reputable garage door installation company should handle both residential and commercial garage door installations.
Different types of garage doors require specific skills:
- Insulated residential garage doors
- Custom garage door systems
- Heavy commercial garage door setups
- Insulated garage door models
- Emergency garage door repair situations
Experience with both residential and commercial garage projects demonstrates the company’s deep knowledge.
5. Transparent Pricing and Written Estimates
An affordable garage door installation does not mean cheap parts or shortcuts. It means fair pricing with clear details.
Ask for:
- A written estimate
- Clear breakdown of labor and materials
- Warranty information
- Details on door replacement or garage door replacement
A reliable garage door company explains what affects cost. For example:
- Type of garage door
- Insulated garage upgrades
- Custom garage door designs
- Garage door opener system
- Framing repairs
Hidden costs are a warning sign.
6. Strong Warranties and Service Support
The best garage door companies guarantee their work. A professional garage door installation should include:
- Manufacturer’s warranty on the door
- Warranty on parts
- Labor guarantee
Also, ask if they offer garage door maintenance plans. Ongoing service helps prevent future garage door repair calls.
7. Reviews and Reputation in Your Area
Local reputation matters. Search for reviews from homeowners. A reliable residential garage door company should have strong local feedback. Look for comments about:
- Professional service
- Clean installation
- Friendly technician
- Affordable garage door pricing
- Reliable garage door repair
8. Emergency and Repair Services Available
Even with the best installation, parts wear out over time. Choose a company that also provides:
- Emergency garage door repair
- Emergency repair support
- Garage door repair and installation
- Garage door opener repair
- Florida garage door repair services
This ensures you always have access to your garage if something fails.
9. Help Choosing the Right Door
A true expert garage door installation team will help you choose the right door for your home.
They should explain:
- Insulated vs non-insulated doors
- Steel vs composite
- Window design options
- Custom garage door styles
- Energy efficiency benefits
Insulated residential garage doors are popular in Florida because they help control heat and reduce noise.
Choosing the right door improves curb appeal and protects your residential garage.
10. Safety Is a Top Priority
Safety should never be optional. One of the biggest moving components in your house is the garage door.
Professional installation experts make sure:
- Springs are balanced
- Cables are tight and secure
- Sensors are aligned
- Door operates without jerking
- Opener limits are set correctly
Improper setup can lead to serious issues with the garage door.
FAQs About Garage Door Installation
How much does professional garage door installation typically cost?
Cost depends on the type of garage door, insulation, opener, and custom features. Standard residential garage door installation is often more affordable than homeowners expect. Custom garage door projects cost more.
How long does it normally take to install a new garage door?
Most new garage door installations last 3 to 6 hours. Complex or commercial garage door installations may take longer.
Can I install a garage door myself?
DIY installation is risky. Garage door springs are under intense tension. Mistakes can cause injury and damage. A licensed garage door installer ensures safety and correct setup.
How do I know if I should replace the door rather than repair it?
If your old door has cracked panels, bent tracks, worn springs, or frequent garage door repair service needs, replacement may be more cost-effective.
What should I ask before hiring a garage door installer?
Ask about license, insurance, warranty, installation process, emergency garage door support, and whether they specialize in professional residential garage door installation.
Do insulated garage doors really make a difference?
Yes. An insulated garage door enhances energy efficiency, lowers outside noise, and helps control temperature.
Final Thoughts
Choosing a professional garage door installation service is about safety, quality, and long-term value. Look for a licensed garage door installer, certified garage door technicians, clear pricing, strong warranties, and a detailed installation process.
A reliable garage door installation protects your home, keeps your garage secure, and ensures your door operates smoothly for years.
If you are in St. Augustine, Ponte Vedra, Jacksonville Southside, Palm Coast, Nocatee, World Golf Village, or St. Augustine Beach, LiftUp Garage Door Services offers expert garage door installation, garage door opener installation, garage door repair and installation services, commercial garage door installation, emergency repair, and custom garage door options.
Call (904) 850-9727 today to schedule your affordable garage door installation or book a consultation. Get your garage door installed by local garage door experts who specialize in professional service and top-notch installations.